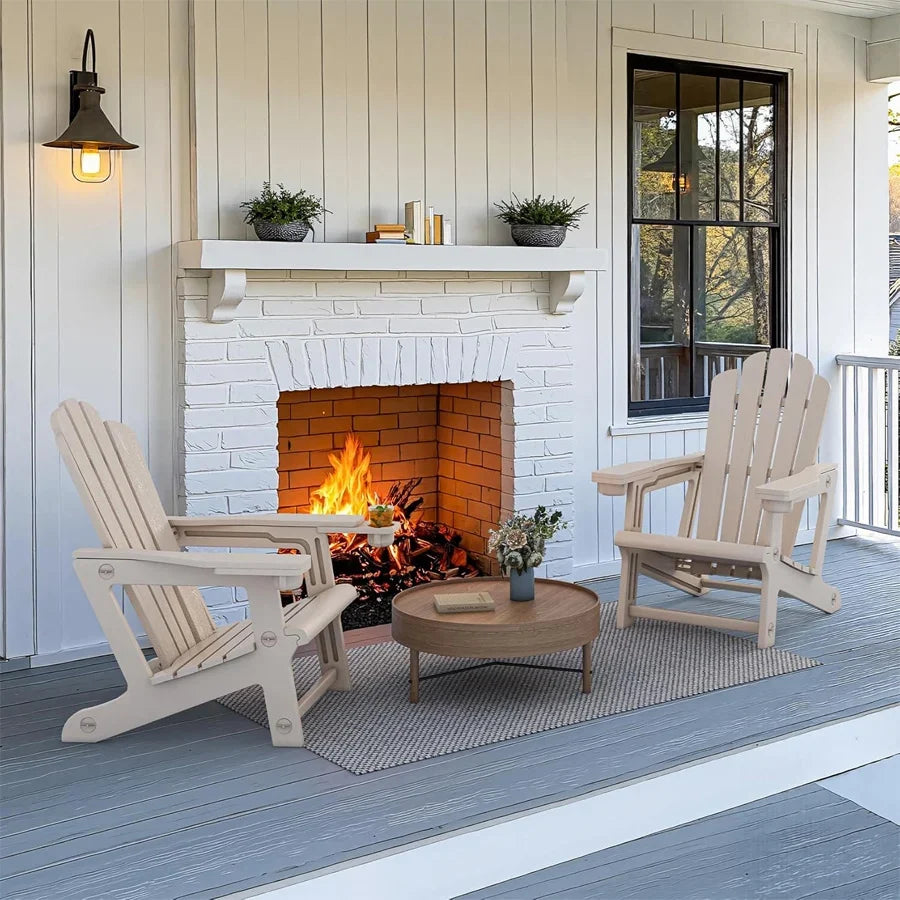
The fastest way to stop an outdoor Adirondack chair from sinking or rocking on pea gravel or crushed stone is to fix the ground first, not the chair. Correct the grade and compact a proper aggregate base under the seating area, then add a paver support or a documented foot pad only if one contact point still moves. Save any fire pit placement decision for a separate safety check, since a stable chair does not automatically make a seating spot safe near open flame.
The Shortest Path to a Stable Adirondack Chair on Gravel
Follow this order instead of reaching for a pad or paver first. Skipping a step usually means redoing the work later.
- Inspect the footprint. Pull the chair off the spot and check whether the whole area shifts or only one foot sinks.
- Prepare and compact the base. Correct loose material and grade before you rely on any accessory.
- Add localized support only if needed. Use a paver stepping anchor over a prepared base for a persistent soft spot, or a foot pad only when its documented limits fit your chair.
- Test, then verify the fire pit location. Run a stability test and confirm the fire feature's clearance and heat requirements before regular use.
Check What Is Making the Chair Rock or Sink
Rocking and sinking usually trace back to one of two different problems, and the fix depends on which one you have. Look at how many feet move before deciding what to do next.
Read the pattern of movement
If a chair shifts at several feet or across the whole footprint, the underlying material is likely loose or poorly compacted. A single low foot after the surrounding area feels firm usually points to one weak contact point rather than a base problem. A seat that tilts the same direction every time can mean the pad slopes or drains poorly, not that the chair itself is defective.
Check the surface before choosing a fix
- Look for loose top material, ruts, low spots, and visible water paths.
- Note whether the gravel was recently added, raked, or disturbed, since fresh material settles differently than compacted ground.
- Test the chair on its actual footprint rather than a nearby spot that only looks firmer.
If several of these signs show up together, treat it as a base problem and move to compaction. If only one foot is affected, skip ahead to the support-choice section.
Prepare and Compact the Gravel Seating Area
Fixing the ground is what actually stops sinking. An accessory placed on top of an unprepared surface is a temporary patch, not a solution.

Why crushed stone can outperform loose pea gravel
Rounded pea gravel rolls and shifts easily under concentrated weight, which is exactly what a chair foot applies. Angular crushed aggregate is the better-supported choice for a compactable base because its fractured, jagged surfaces lock together instead of rolling apart. That said, crushed stone still needs the right grade, drainage, and compaction; the material name alone does not guarantee a stable seating area.
Compact the chair-support area
- Clear loose, contaminated, or visibly unstable material from the chair's footprint.
- Establish the finished height and a drainage direction so water moves away from the seating area instead of pooling under it.
- Place angular crushed aggregate suited to your site, spreading it in separate, manageable layers rather than one thick dump.
- Compact between each layer with a plate compactor. A public aggregate specification calls for angular aggregate compaction guidance with lifts of six inches or less, which is useful technical framing but not a fixed rule for every backyard project.
- Check that the finished pad is firm, level or intentionally sloped for drainage, and ready before you set the chair or a paver on top of it.
This same layered crushed-rock paver base sequence, excavating the loose surface, building up compacted crushed rock, and checking grade before finishing, applies whether you plan to seat the chair directly on the pad or set a paver stepping stone on top of it.
Choose Foot Pads or Paver Stepping Anchors
Pick the support based on what the diagnosis showed, not on which accessory is easiest to buy. A foot pad and a paver stepping anchor solve different problems.
When a foot pad may be enough
A foot pad can help when the surrounding base is already firm and only one contact point keeps sinking. Before using one, confirm the product's documented fit, weight limit, attachment method, and outdoor material rating actually match your chair and site; a pad without that documentation is a guess, not a fix. Do not assume a generic pad is rated for heat exposure or safe placement near a fire feature.
When a paver or prepared pad is better
If the chair needs a broader, firm contact area rather than a single spot fix, a paver stepping anchor works better than a foot pad. Set that paver over the compacted crushed-rock base described above rather than directly on loose pea gravel, since an unprepared base will let the paver tilt or sink anyway. If movement shows up across multiple feet even after compaction, rebuild or relocate the seating area instead of layering accessories on an unstable base. If you are working through similar surface-specific stability checks for other freestanding outdoor pieces, the same diagnose-then-support logic applies.
Set Up Chairs Safely Around a Fire Pit
Do not use a seating spot next to a fire pit until you have confirmed the feature's required clear space, heat exposure limits, and local requirements. A chair that passes every stability check can still be unsafe if it sits inside that clearance zone.
Start with the fire feature's own manual and any applicable local fire authority rules, since requirements vary by appliance and jurisdiction. Guidance on recreation-site fire features calls for a firm stable fire-feature clear space around all usable sides, which is a useful reference point but not a universal residential distance or heat threshold for your specific setup. Confirm the support area stays firm and stable, and if you cannot verify the required clearance or heat limits for your fire pit, move the seating rather than guess.
Run a Stability Test Before Regular Use
A chair passes only when every foot stays supported and it does not rock, sink, or shift under a gradual seated load. Run this test on the final footprint before lighting the fire pit, not on a nearby spot that looked convenient.
- Set the chair on its finished support point and check that all four feet make contact.
- Sit down slowly and shift your weight toward each corner in turn.
- Watch for rocking, sinking, or lateral shifting during and after the load.
- If it fails, correct the base or support and repeat the test rather than compensating by sitting differently.
Do not use the chair regularly if it still rocks, sinks, or shifts after this test.
Plan Pergola Shade Around the Stabilized Seating
Pergola shade is a comfort and layout decision that comes after the support is settled, not a way to fix an unstable chair. Keep the chair on its stable footprint even when a slightly different spot would catch better shade.
Once the support point is fixed, check pullback space behind the chair, primary walkways, and clearance from posts, curtains, and roof edges before finalizing the arrangement. Our related guides on arranging under a pergola and pergola size planning cover measuring that clearance in more detail. Shade coverage can guide chair orientation or spacing, but it never overrides the stability work done in the sections above.
FAQs
What should I do after adding or disturbing pea gravel around the chairs?
Inspect each foot contact point and rerun the controlled seated stability test before using the furniture, because loose or raked stone shifts more easily than an established base. When sinking or rocking returns immediately, firm up the underlying compacted aggregate or install a documented localized support instead of merely topping off the surface with more loose gravel.
Can a paver stepping anchor be set directly on top of loose pea gravel?
No, placing a paver straight onto uncompacted pea gravel causes the paver to tilt, slide, and sink under weight as the rounded stones roll underneath it. Clear away the loose aggregate, create a shallow excavated footprint, and bed the paver on a tamped base of angular crushed rock so it remains flat and stable.
How do I decide between an attachable foot pad and a paver stepping stone?
Choose an attachable foot pad only when the gravel bed is already stable and one isolated chair leg requires a slightly wider, documented contact footprint. Choose an embedded paver stepping stone when the entire contact area needs a broader, rigid surface to prevent the chair from shifting into loose aggregate.