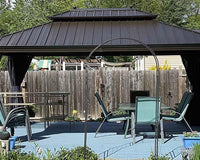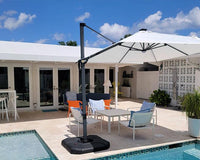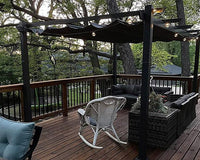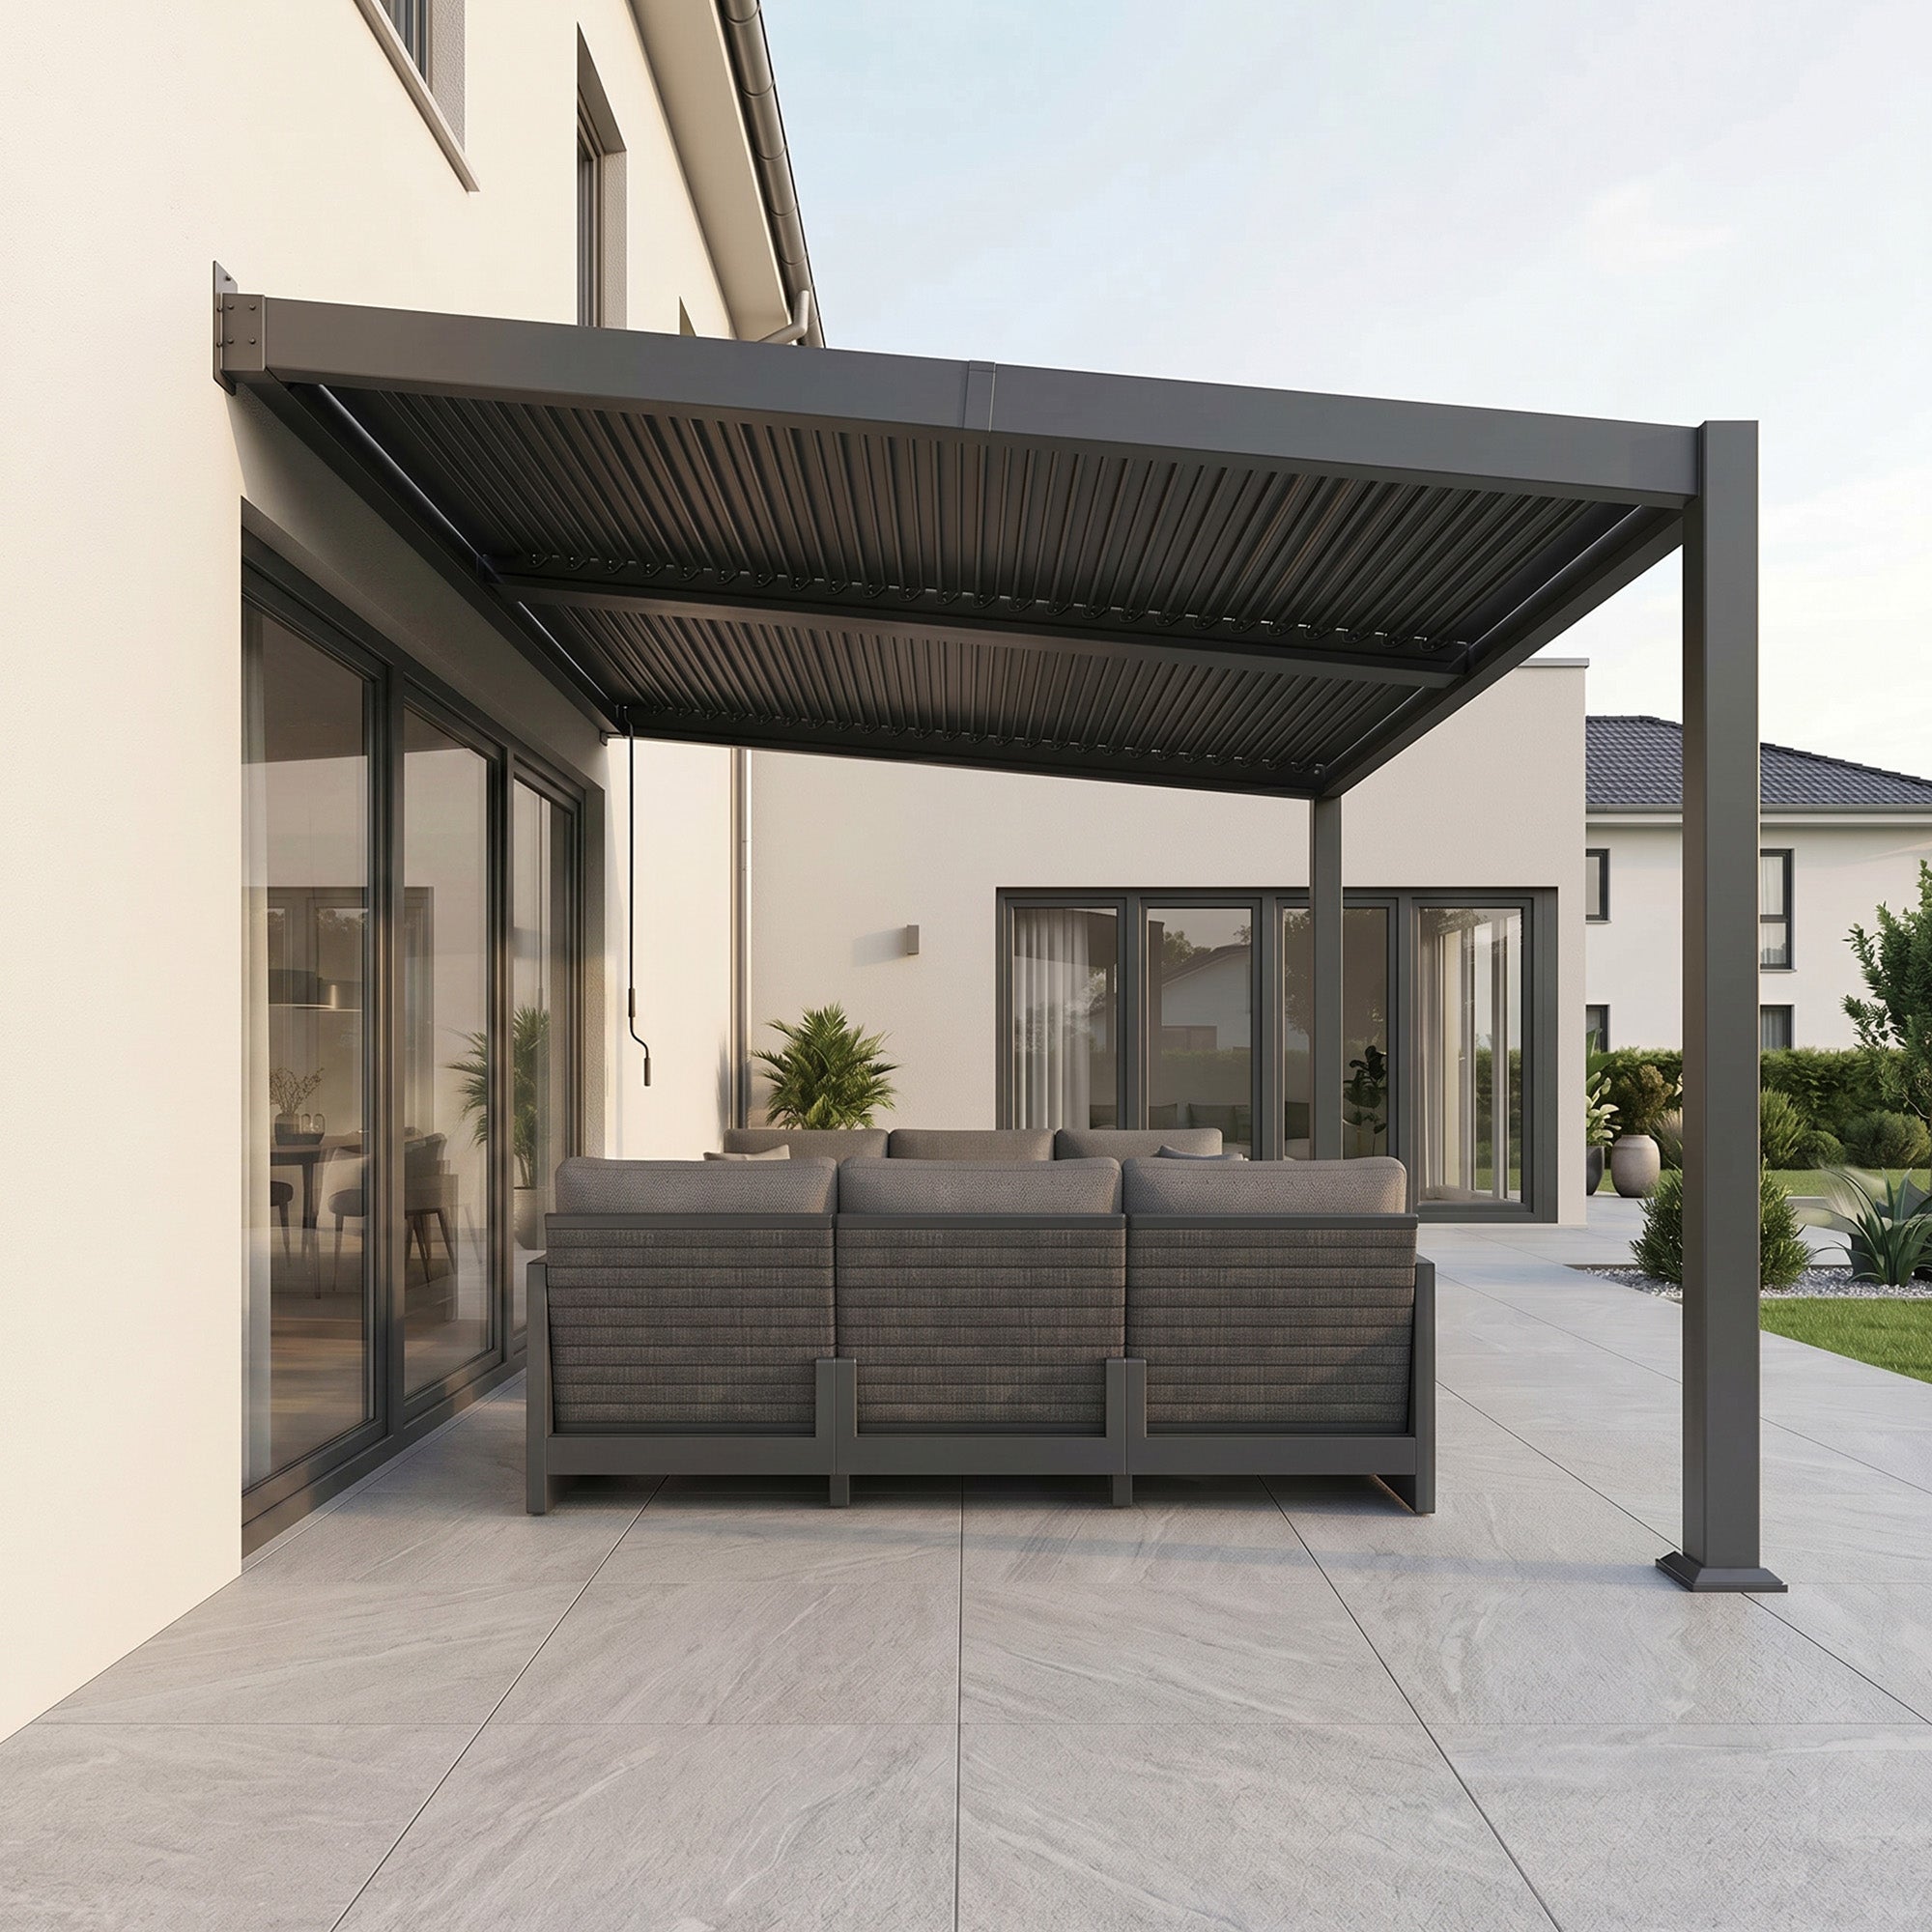
A complete pergola planning process has five stages: define the project brief, measure the usable site, clear buying and installation blockers, choose features based on use, and prepare for ownership. Start with the activity, location, approximate footprint, and main comfort goal. Then measure before comparing pergola kits. If the surface, access route, anchoring question, or assembly plan is still unresolved, pause the order and address that issue first.

Start With Pergola Planning: Project Brief and Path
The first decision is not which style looks best. It is what the pergola should help you do, where it will go, and how much space it can use. This brief gives your pergola planning guide a practical starting point instead of letting product browsing define the project.
- Write the project brief. Record the primary activity, proposed location, approximate usable footprint, and main comfort or function goal. You might be planning an outdoor dining area, a seating zone, a more defined patio, or a space that needs a specific approach to sun and privacy.
- Separate must-haves from preferences. Put site fit, access, surface, anchoring questions, installation responsibility, and care needs in the must-have column. Put color, visual details, and optional accessories in the preference column. This keeps style choices from displacing practical checks.
- Measure the site and set the footprint. Mark the proposed corners, test furniture placement and circulation, and note doors, windows, walkways, edges, overhead obstructions, utilities, slope, water, and the support surface.
- Confirm purchase and installation readiness. Compare the measured sketch with current product dimensions and instructions. Resolve delivery access, package handling, assembly help, policies, and location-specific questions before checkout.
- Choose features, then plan for ownership. Match roof direction, attachment context, privacy, lighting, and accessories to the intended use. Keep the order record and instructions together, and follow the selected model's care guidance after setup.
A project brief organizes the main planning categories, but product, code, and structural decisions still require later checks. The first proceed-or-pause decision is simple: if you know the activity, location, usable footprint, and main function goal, mark the proposed area and measure it. If one of those inputs is missing, address it before comparing size collections or browsing style options. For broader context on evaluating whether a pergola fits your outdoor space, see these pergola pros and cons.
Measure the Site and Set the Usable Pergola Footprint
The workable pergola size is the measured area that supports the activity while leaving room for furniture movement, access, and installation. Mark the corners on site, measure both directions, and test the layout with the objects and pathways you expect to use.
Use painter's tape, stakes, or another temporary marker to outline the proposed footprint. Place the furniture inside the outline, then walk the routes between seating, doors, steps, gates, and walkways. Mark windows, property edges, overhead obstructions, utilities, and any location where the structure could interfere with access. A compact patio may leave little room for circulation; a larger yard may allow separate dining, seating, or passage zones. In either case, eliminate any size that blocks a necessary route or leaves no workable installation area.

Inspect the ground before treating the sketch as usable space. Note the slope, standing water, drainage paths, nearby utilities, and the surface where supports would be anchored. A deck, patio, porch, lawn, or wall-adjacent location can raise different product and installation questions, so keep the site condition with the measurement record rather than relying on the kit's nominal dimensions.
A sizing tool can help organize layout inputs such as post count, rafter layout, beam lengths, and material estimates, but it is a planning aid—not universal structural advice. Use the measured footprint and layout inputs from your sketch, then compare the result with the selected product's drawings, instructions, and applicable local requirements.
Only after the sketch is complete should you browse 10' x 20' pergola kits or 14' x 24' pergola kits. Those collection labels are shopping starting points, not proof that a size fits your site. Keep only the options whose actual dimensions and placement match the marked footprint.
Clear the Buying, Delivery, and Installation Blockers
Before ordering, treat the project as ready only when the measured fit, site questions, delivery route, assembly plan, policies, and applicable local questions each have an answer or a clearly assigned owner. Requirements vary by product and location, so use the current product instructions, seller terms, and relevant local sources for the final checks.
Use this pergola buying checklist before placing an order:
- Fit and surface: Compare the measured sketch with the current product dimensions and installation instructions. Identify whether the intended placement is a deck, patio, porch, lawn, or another surface, and determine which product-specific support questions apply.
- Anchoring and drainage: Identify the anchoring question for the selected structure and surface. Observe how water moves through or around the site, including existing drainage paths, without assuming that one anchoring or drainage method applies to every pergola.
- Delivery access: Trace the route from the delivery point to the installation area. Account for gates, steps, turns, package-handling space, and a place to stage components without blocking the property.
- Assembly responsibility: Decide who will assemble the structure, what tools and helpers are available, and whether installation coordination is needed. If a product specifies a particular helper count, follow that product's instructions rather than applying the number to other kits.
- Policies and service: Read the current shipping, warranty, return, replacement, and installation-service terms for the selected order. Save the relevant information with your project record.
- Local requirements: Assign permit, HOA, zoning, utility, and structural questions to the applicable local authority, association, utility provider, qualified installer, or product support team. Do not assume that a rule in one location applies to another.
An unresolved item is a pause signal, not a reason to guess. Write down the question, identify its owner, and wait for an answer before checkout. The aluminum pergola installation steps can help you prepare, but the selected kit's current instructions control product-specific assembly details.
Choose Pergola Features by Use Case and Site Context
Choose features after defining the brief, footprint, and readiness gate. Make a short feature brief that names the primary use, roof direction, attachment path, and must-have privacy, lighting, or accessory needs. Then verify each choice against the selected structure rather than assuming there is one universally best format.
Choose the Roof Format for the Primary Use
As a planning heuristic, a shade-first project should define the desired level of control throughout the day and consider how the roof will be operated, accessed, and maintained. A decorative or space-defining project may place more weight on openness and visual form. The key is to identify the problem to solve: sun control, exposure, openness, or a defined outdoor room.
Use the project brief to compare louvered and retractable approaches based on the intended problem, placement context, operating routine, and selected system's documented care requirements. Use retractable pergola kits as a category-navigation option when adjustable fabric coverage matches the brief. Do not treat a category name as proof of shade level, weather performance, or compatibility with your site.
Choose Attachment and Add-Ons for the Site
Choose a wall-mounted option only when a suitable wall, porch, or deck-side setting and attachment approach can be verified for the selected structure. Choose a freestanding option when the project needs an independent backyard location, subject to the selected product's instructions and site conditions. The attachment decision depends on the structure and location, not appearance alone.
Privacy panels, lighting, curtains, furniture, and other accessories need their own checks. Review sightlines, power, weather exposure, mounting, access, compatibility, and care. For a measured wall-side placement on a deck, backyard, or porch that matches the documentation, the wall-mounted louvered pergola is one product-navigation example, not a general recommendation. Write the must-have accessory list before adding optional items, and verify each item's fit and installation method for the selected structure.
Prepare for Setup and Ongoing Pergola Ownership
Ownership begins before delivery. Plan for package handling, setup effort, tools or help, installation coordination, documentation, cleaning access, drainage observation, and product-specific care before the order arrives. Keep the information needed to operate, maintain, or troubleshoot the selected structure in one place.
Retain the order record, measurements, product details, installation instructions, warranty, and policy information. After setup, check that access remains clear, the planned activity works in the space, water moves as intended, and accessories have not created new access, care, or safety questions. Follow the selected model's instructions for its frame, roof, and drainage features, along with any documented accessories. Do not apply one maintenance schedule or procedure to every pergola.
Budget review is a separate ownership decision, not a universal project estimate. If a retractable format is under consideration, use these retractable pergola cost factors to identify questions about size, materials, installation, and custom options.
Place the order only when the project brief, measured footprint, readiness answers, feature brief, and ownership plan align. If they do not, return to the unresolved stage, assign the next question to the appropriate source, and revise the plan before buying.
Frequently Asked Questions
These answers address the points where readers are most likely to pause: starting the project, checking readiness, choosing features, or deciding how the structure relates to the home.
How Do I Start Planning a Pergola Project?
Start by recording the primary activity, proposed location, approximate usable footprint, and main comfort or function goal. Next, mark and measure the site before comparing kit sizes. If the location or footprint is still uncertain, make measurement the next action rather than choosing a style.
What Should I Check Before Buying a Pergola Kit?
Confirm that the measured dimensions, intended surface, anchoring question, drainage context, delivery route, handling space, and assembly responsibility are understood. Also review current policies and applicable local or HOA questions. Pause checkout when one of these items has no answer or assigned owner.
Which Pergola Features Matter Most for My Yard?
Start with the main use. Shade control calls for a different feature discussion than openness or space definition, while privacy and lighting add separate sightline, power, mounting, compatibility, and care questions. Create the feature brief after measuring the site and before adding accessories.
Should I Choose a Wall-Mounted or Freestanding Pergola?
Treat this as a product- and site-specific decision, not a universal rule. A wall-mounted option fits only when the selected structure's documentation supports the verified wall-side location and attachment approach. A freestanding option may suit an independent backyard placement when its instructions and site conditions support that use. Next, compare the selected model's requirements with your measured location.