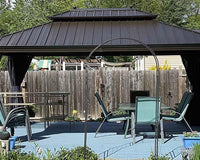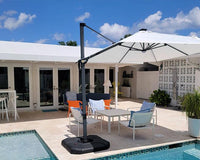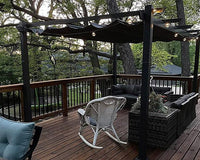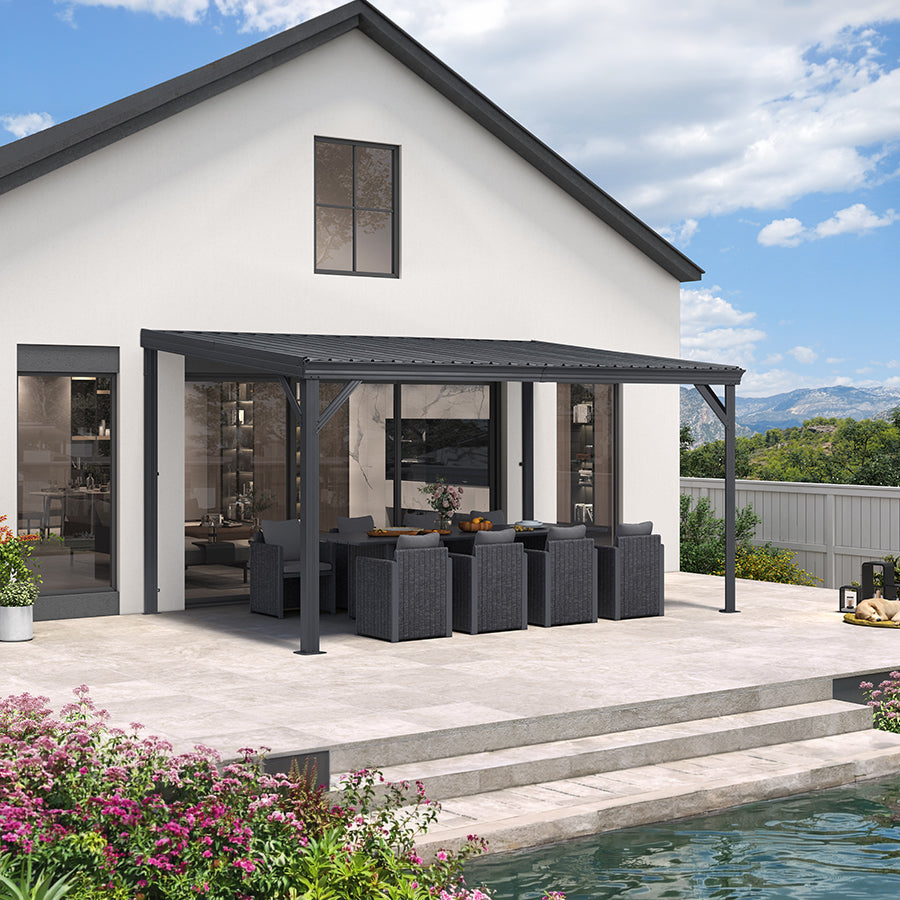
A pergola attached to house is worth considering only when the entire house interface passes a preliminary screen: the wall area, roofline and water path, doors and circulation, drainage, utilities, fixtures, and service access. If any of these conditions conflicts or remains uncertain, revise the footprint, compare a freestanding layout, or get a qualified review before buying or planning installation.

The inspection order matters. Start at the proposed wall, then map the roof edge and gutters, test everyday access, and finish by checking runoff and utilities. This is house-mounted pergola planning—not universal structural approval or an installation method.
Choose an Attached or Freestanding Layout for a House-Attached Pergola
Keep an attached layout under consideration only when the proposed wall area is suitable for review and the footprint preserves the home's envelope, water path, access, and maintenance routes. A single unresolved conflict is enough to stop treating attachment as the default.
- Keep the attached option under consideration when the wall condition is understood, the roofline and water route are workable, affected doors and traffic remain usable, drainage has a clear path, and utilities, fixtures, and service access are accounted for.
- Switch to freestanding or seek qualified review when the wall is damaged or uncertain, eaves or gutters interfere, a door or landing becomes difficult to use, runoff has no clear route, or utilities and fixtures would be obstructed.
Before comparing styles or adding anything to your cart, mark the proposed footprint and screen the conditions in this order: wall, roofline and gutters, doors and circulation, then drainage and utilities. Compare the marked plan with the selected structure's current documentation and your local building department's requirements. If the house interface does not pass the screen, a freestanding placement may resolve the conflict without forcing the structure against the wall.

Clear the Wall Before Treating It as an Attachment Point
A visible siding or cladding surface does not, by itself, show that the area is suitable for attachment. Mark the proposed wall zone and pause the attached plan if the area is damaged, wet, unstable, inaccessible, or unclear behind the finish.
Inspect the wall zone for:
- Damage, cracking, swelling, staining, or signs of moisture
- Windows, doors, vents, lights, outlets, hose bibs, meters, and other fixtures
- Openings and service areas that must remain accessible
- Cladding or siding that conceals uncertain construction behind the visible surface
- Proposed penetrations or envelope changes that have not been reviewed
Do not assume a generic fastening or mounting solution will work. The selected structure's current installation documentation should define its project requirements, while local permit guidance may apply if the wall or exterior envelope changes. When construction behind the finish is uncertain, or when damage, moisture, or a proposed penetration is present, pause for documentation or a qualified installer, structural engineer, or building-envelope professional to review the situation.
For an attached pergola for a house, this wall check is especially important because visual convenience can hide a construction or maintenance conflict. A wall that looks like the natural attachment point is not automatically suitable for attachment.
Map the Roofline, Eaves, and Gutters Before Setting the Footprint
Map the roof edge and existing water route before committing to an attached footprint. Eaves, fascia, soffits, overhangs, gutters, and downspouts can affect placement, access, and runoff, so use a marked elevation or roof-edge sketch instead of guessing from the patio surface.
Record the following in relation to the proposed footprint:
- The horizontal and vertical positions of the eaves, fascia, soffits, and overhangs
- Gutter and downspout locations, including where each downspout releases water
- Windows, door headers, lights, and other roof-adjacent features
- The selected structure's documented dimensions and installation requirements
- The route that water from the house roof already takes across or away from the patio
Then ask whether house runoff could discharge onto the structure, patio, doorway, or foundation area. If the water route is unclear, or the plan would require an unreviewed roof-envelope or gutter change, pause for qualified roofing or installation review instead of assuming the pergola's drainage feature solves the problem.
For more guidance on measuring placement without treating a general dimension as site approval, see this roofline and pergola height guide. Your home's roof edge and the selected structure's current documentation still control the project-specific review. No universal height, gap, slope, or gutter modification is established here.
Test Door Swing and Everyday Patio Circulation
An attached layout works only if the actual doors, steps, landings, and daily routes remain usable after the footprint is marked. Operate every affected opening through its full swing and approach zone while representing the posts, beams, roof edges, furniture, and normal traffic pattern.
Test kitchen, dining room, living room, and side-entry doors, including screen or storm doors and their handles. Mark the footprint on the patio and compare it with:
- Steps, landings, railings, and changes in level
- Door swing and the space needed to approach each opening
- Furniture movement, grilling, and carrying groceries or other household items
- The route people use between the house, patio, yard, and side access
- Any entry or landing that may need to remain available under local requirements
Do not use a generic clearance number as proof of egress or code compliance. If a post, beam, roof edge, or furnishing makes an entry, landing, or required access route difficult to use, revise the footprint or get a qualified review. At this stage, operating the openings is more useful than judging the plan from a photograph or overhead sketch alone.
Run the Final Drainage and Utility Screen
Drainage and utilities are the final gate for an attached pergola. Trace runoff, map visible and concealed-service concerns as far as possible, and complete one annotated site plan before buying or planning excavation.
Trace the Drainage Path
Identify runoff from both the house and the proposed structure, then follow it across the patio and surrounding ground. Look for downspouts, drains, pavers, soil, low spots, ponding, erosion, staining, and slippery areas. The planned water route should remain controlled and directed away from the wall, doors, foundation, and walking surface. If it does not, revise the footprint or pause for qualified review.
The drainage path for preventing water pooling provides general follow-up context, but it does not establish a solution for your house or patio. Do not treat a drainage feature, patio surface, or apparent slope as proof that the site is ready.
Mark Utilities and Fixtures Before the Final Choice
Map visible electrical, gas, water, HVAC, communications, and drainage services, along with vents, meters, outlets, lights, hose bibs, and maintenance access. These above-ground fixtures and service routes are separate from underground utility locating, so leave access wherever the home needs inspection, repair, or operation.
Before digging for posts or doing other site work, use the 811 utility-locating process to request approximate markings for underground utilities. State processes and requirements vary. The U.S. Department of Transportation identifies underground gas, electrical, telecommunications, sewer, and water facilities as examples relevant to the one-call process. Do not assume every line will be marked or that private lines and above-ground fixtures are covered by the same process.
Now create one annotated site plan. Overlay the wall line, roof edge, doors, proposed posts, downspouts, low spots, visible services, fixtures, and maintenance access. Compare the plan with the selected structure's current requirements and local approvals. If any item remains unresolved, choose one next step: move the footprint, investigate a freestanding placement, or seek qualified review. This plan is a preliminary planning tool, not a substitute for permits, engineering, utility locating, or manufacturer instructions.
FAQ
These answers address common exceptions in the house-interface screen without replacing the site-specific checks above.
Is a pergola attached to a house a good fit for every patio?
No. Continue with an attached layout only when the wall, roofline and water path, doors, drainage, utilities, and service access pass a preliminary screen. Otherwise, compare a revised or freestanding layout before moving forward.
What should I check on the wall before planning an attached pergola?
Look for damage, moisture, openings, cladding, fixtures, and uncertainty about the construction behind the finish. Treat unclear construction or proposed envelope penetrations as reasons to consult current documentation or a qualified professional.
How do I check door and walkway clearance for an attached pergola?
Operate each affected door through its full swing and approach zone with steps, landings, posts, roof edges, furniture, and normal traffic represented. A generic number does not establish usability or code compliance for your property.
How do I check drainage and utilities for a pergola against a house?
Trace runoff from the house and structure to its discharge path, map visible fixtures and services, and use the applicable 811 process before digging. Unresolved runoff, private-line, fixture, or maintenance-access conflicts call for a revised footprint or qualified review.