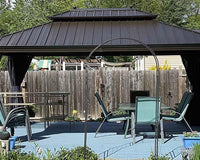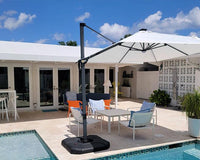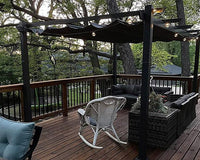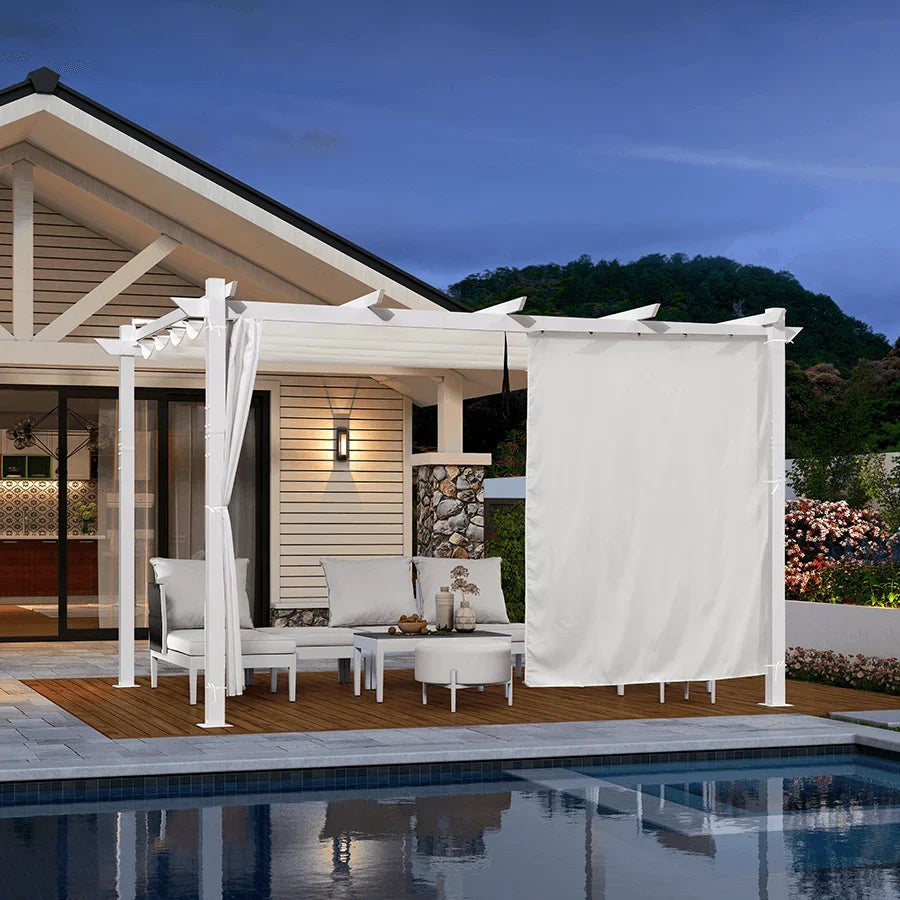
On a compact patio, test a corner or boundary placement first. It often leaves a longer, more continuous walking path than placing the daybed in the center. The best spot still depends on the daybed's footprint, how far its canopy swings or retracts, where the entry sits, and whether sun or privacy matters more. The same placement logic applies whether you're setting up a canopy daybed or an outdoor swing bed.
Start with a corner-or-boundary placement test
Treat corner, boundary, and center spots as three layouts to compare using the same two questions: Does the route stay open, and can the canopy move freely? Round and rectangular daybeds create different clearance issues, so measure each shape at its widest point before deciding.
When a corner is the better first test
A corner is a good first mock-up when it leaves a continuous path along the patio's remaining open sides. Check that the widest point of a round daybed, or the long side of a rectangular one, doesn't extend into the entry route. Keep the canopy's full swing or retraction path clear of walls, fences, roof edges, and nearby fixed furniture. If the canopy can't fully open or fold away, the corner may not work.
When a boundary or center layout earns a test
Test a wall or fence edge when it improves privacy or lines up with your preferred shade direction, as long as that side isn't the only way in or out. A centered layout works only when the measured footprint leaves a practical route on both sides, not just a gap that looks open. Reject any position that seems spacious on paper but forces people to detour around the entry.
Measure the daybed footprint and the canopy operating envelope
Before committing to a spot, record the dimensions that actually use floor space, not just the patio's overall size. Include the canopy's open and retracted positions because they change which side of the patio remains usable.
Record the dimensions that consume floor space
- Usable patio length and width, measured between walls, fences, posts, doors, steps, drains, and furniture that won't move
- The daybed's actual length and width, or its full diameter if round—not just the nominal size on the label
- The daybed's entry side, plus any cushion or ottoman projection that affects how closely people can walk past it
- Fixed obstacles inside the intended footprint
- Canopy-open and canopy-retracted positions
- Any anchoring or installation area the product requires
For a round daybed, use the widest diameter as your working number. For a rectangular one, use both the long and short sides. A layout that clears the short side can still block the long one.

Treat canopy movement as part of the footprint
A canopy that folds, retracts, swings, or tilts changes the usable envelope whenever it moves. The stored position alone won't show whether the layout works. Record the positions you'll actually use during a normal weekend, not just the collapsed position it ships in. Canopy travel varies by model, so use the operating dimensions in your selected product's documentation rather than assuming one daybed's clearance applies to another. Our pergola size planning guide uses the same furniture-plus-walkway measuring approach for larger shade structures.
Set canopy angles for sun tracking and privacy
Once a layout passes the footprint and route check, orient it around when you want shade and where you want privacy. Neither goal has one universal angle, so use this as an on-site decision rule rather than a fixed number.
Follow the sun-use window
Decide when you'll use the daybed—perhaps for morning coffee or an afternoon nap in the shade—before choosing the final orientation. Among the layouts that keep the route open, favor the one that lets the canopy cover the side facing the sun during that time. Test every canopy position you'll use then, not just the angle that's easiest to set.
Use privacy as a boundary condition
A fence or wall can guide which side of the canopy faces your neighbors, but it shouldn't block entry or prevent the canopy from retracting fully. If your shade and privacy priorities point in different directions, let the walking route and canopy operation decide. Our patio shade placement article covers sun-tracking basics that also apply to canopy orientation, though exact shade results depend on your structure and site.
Protect the entry and keep one continuous walking route
Before finalizing a layout, trace the path from the patio's actual entry to the daybed, grill, door, or stairs. Treat a blocked route as an automatic fail. Optimize shade or visual balance only after the path stays open with the canopy in its normal-use positions.
Run the entry-to-destination check
- Start at the real entry point, not the patio's widest open area
- Trace the route to the daybed and to other regular destinations, such as a door or grill
- Check the narrowest straight segment, not just the roomiest section
- Check every turn separately, especially where the path bends around the daybed
- Walk the route with doors open, chairs pulled out, and the canopy in its normal-use position
- Confirm the daybed's entry side doesn't force people to squeeze past a corner
Apply the 36-inch benchmark carefully
If you want your patio route to meet an accessibility-oriented standard, the U.S. Access Board sets a 36-inch clear-width minimum for accessible walking surfaces, with wider clearances required around certain 180-degree turns. That figure isn't a universal rule for every private patio, but it's a useful benchmark for a route that works for wheelchairs, walkers, or easier movement around furniture. Measure the narrowest straight segment against it, then check turns separately because they typically need more room than a straight path.
Run the layout test before buying or installing
Before buying or assembling anything, run a short pass/fail test using your actual measurements. The result should be a clear approve, revise, or reject decision.
Use a five-pass placement test
- Mark the daybed's actual footprint and entry side on the patio with tape or a temporary outline.
- Mark every canopy position: open, adjusted, and fully retracted.
- Walk the route from the entry with normal patio items, such as chairs or a side table, left in place.
- Confirm that the chosen sun and privacy orientation still works with the canopy in each marked position.
- Approve the layout only after the product's official dimensions and any installation or anchoring requirements match the space you marked.
Use actual dimensions, not the label alone
Nominal size labels rarely match a product's real footprint, which is why the marking step matters. As a worked example, one of our retractable pergola configurations lists actual dimensions of 118 by 118 inches for its 10-by-10 label and 158 by 118 inches for its 10-by-13 label. That is a meaningful difference from the rounded name on the box. The same retractable pergola example has a canopy that expands or folds away and is designed for anchoring to concrete, cement, or pavement. These numbers apply only to that structure, not to daybeds generally, so confirm your selected product's configuration and installation instructions before ordering.
FAQs
Can a round daybed go in a corner?
Yes, as long as its widest point and full canopy envelope leave the entry route and usable access side clear. Mark the complete circular footprint with tape before committing, since the widest point isn't always obvious at a glance.
Do I need 36 inches of clearance on every private patio?
No. That figure comes from accessibility-oriented walking-surface guidance, not a universal rule for private patio furniture. Decide whether your household needs an accessible-style route, then check turns separately because they generally need more room than a straight segment.
How can I test the layout before moving a heavy daybed?
Use painter's tape, cardboard, or a measured outline to mark the daybed's footprint and every canopy position before lifting or assembling anything. Walk the intended route with the outline in place so you can catch a blocked path before delivery day.
What should I prioritize when my patio has only one entry?
Protect the direct route from that single entry to your main destination first because there's no second path to use. Use shade or privacy orientation as the tie-breaker only among layouts that keep that route open.