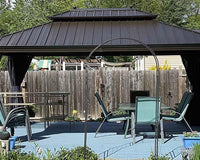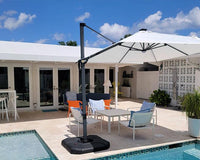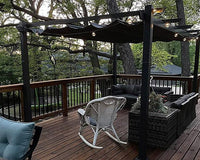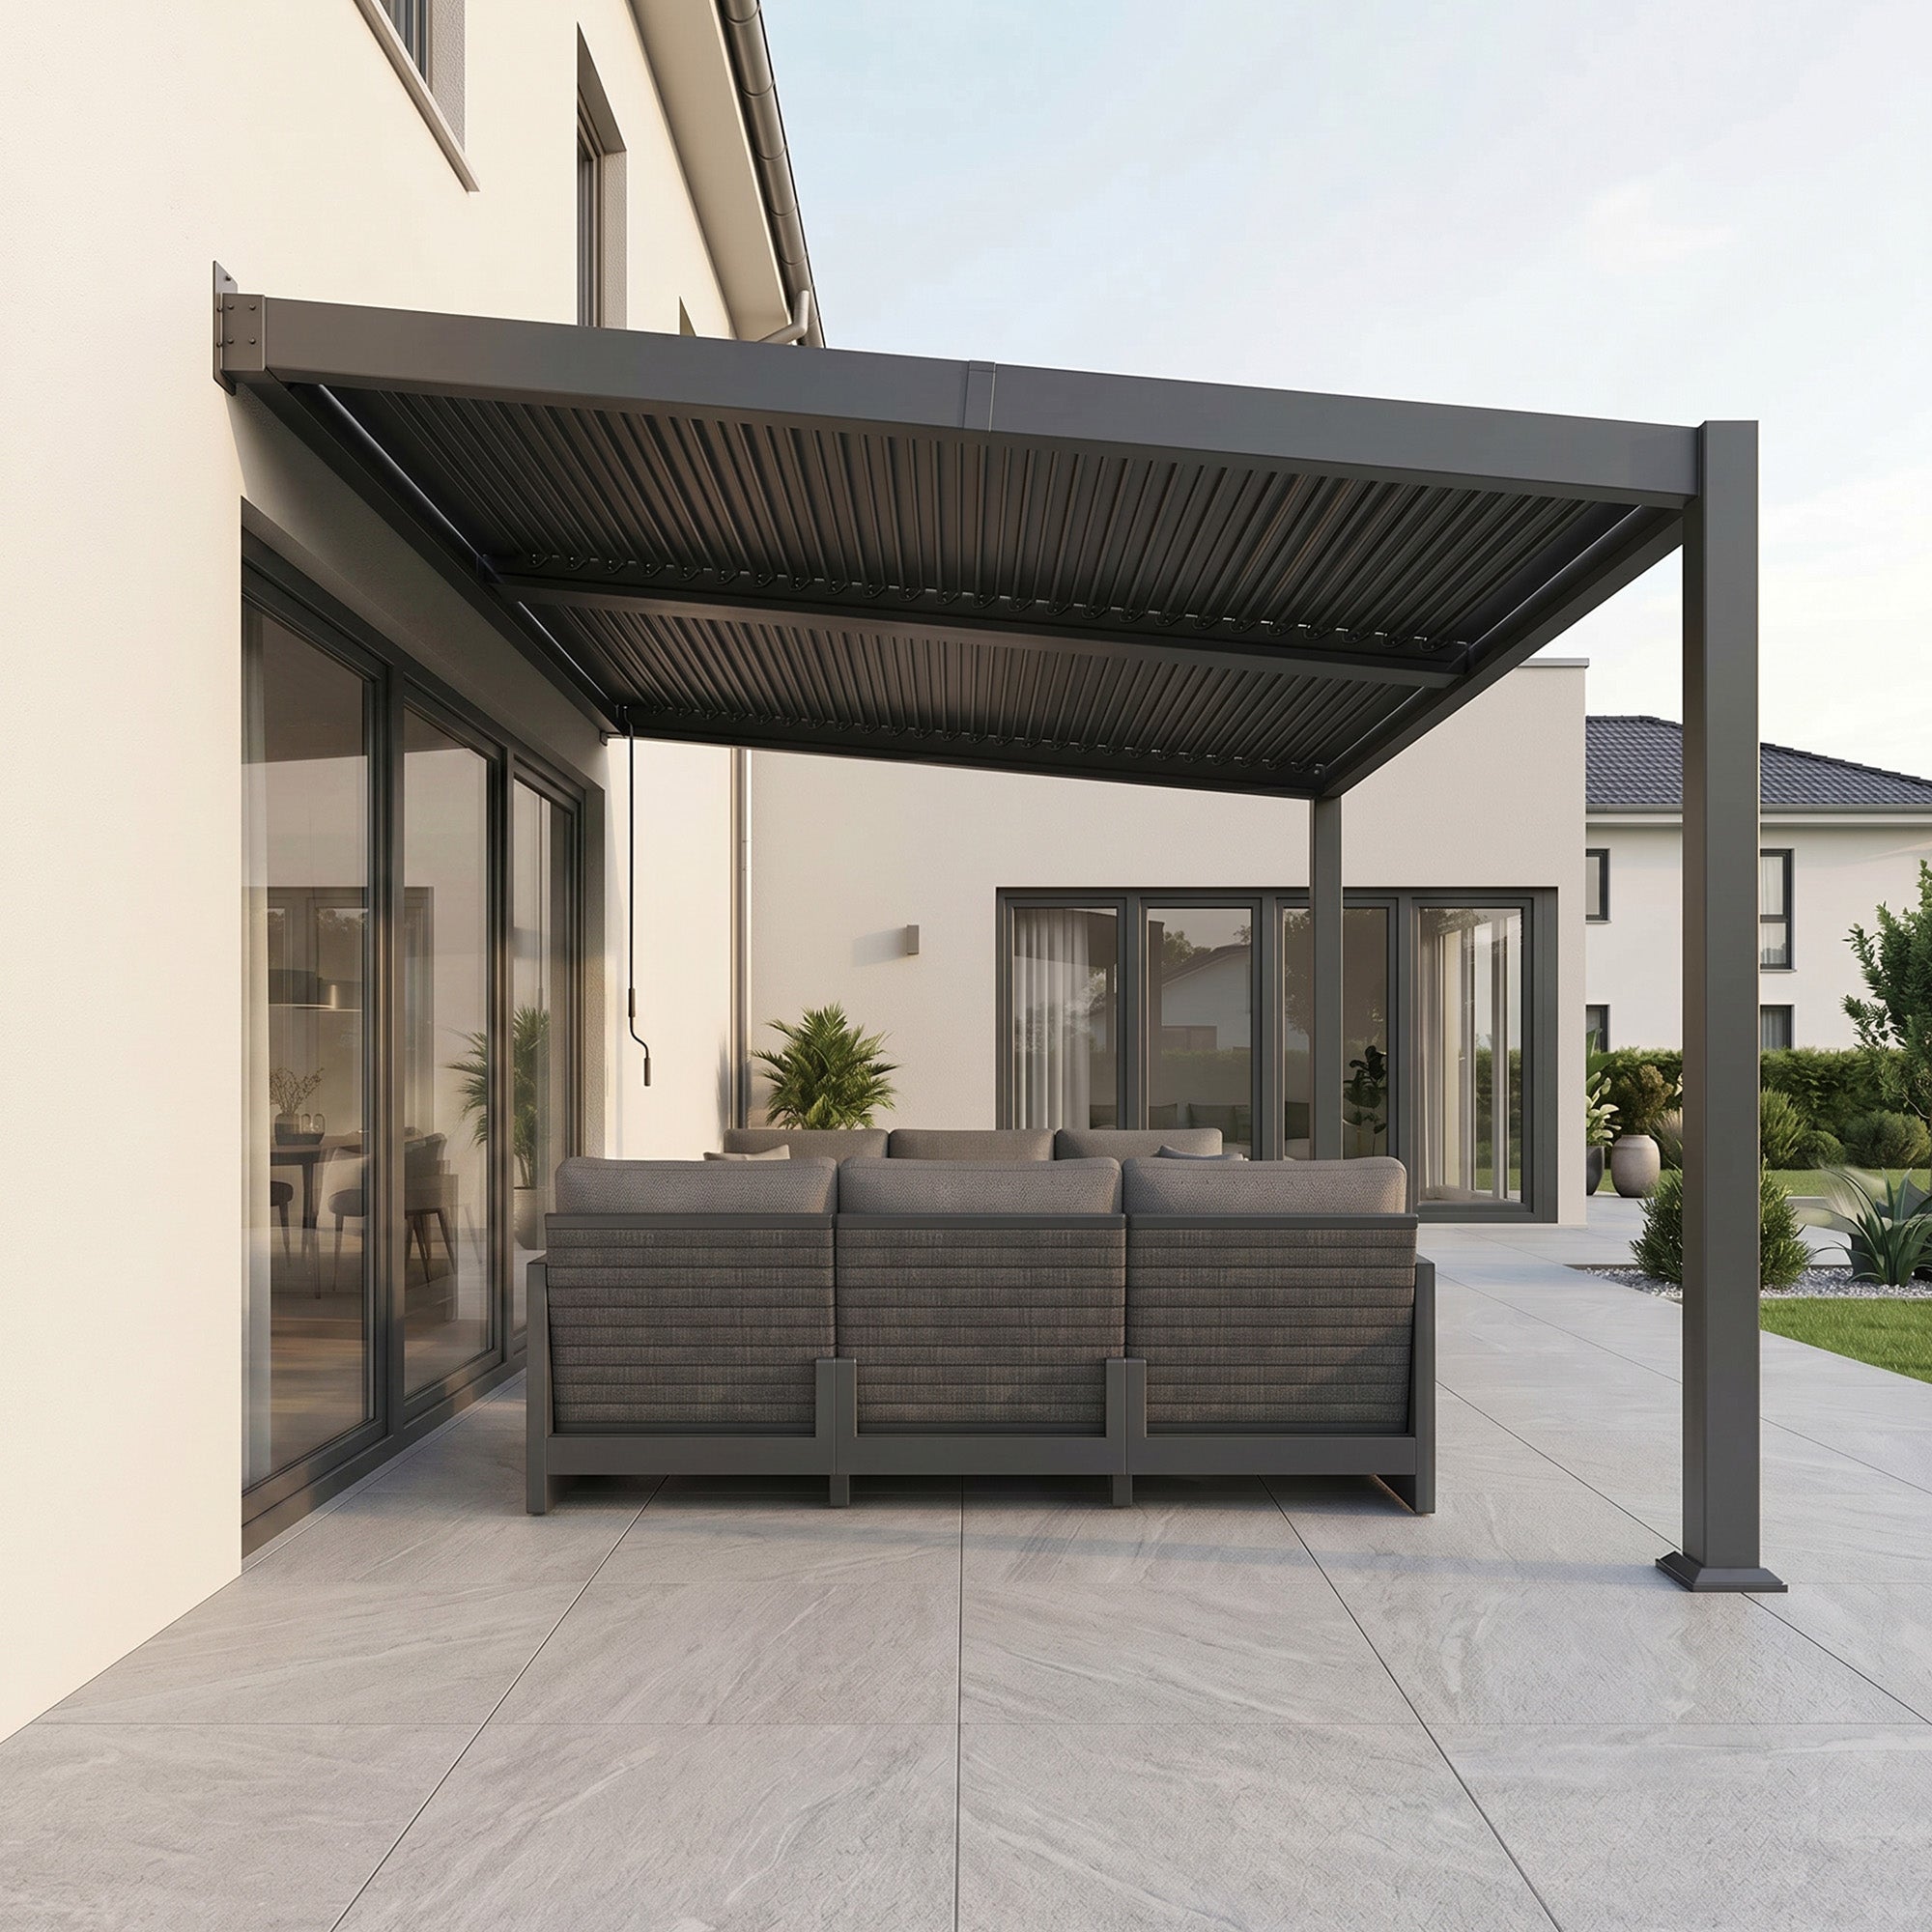
Pergola water should follow the roof's documented collection and discharge path to a final area that does not send concentrated runoff toward the foundation, doors, walkways, furniture, low spots, or neighboring property. There is no universal discharge distance or slope that works for every site. For reliable pergola drainage, map each roof exit, trace the complete route, and approve it only when the path fits the product instructions and applicable local requirements.

Route Pergola Runoff Away From Vulnerable Areas
The right starting point is a site-specific runoff map, not a guess about the nearest lawn or patio edge. Identify how the roof collects water, where it releases water, and where that flow will end before you approve the pergola location.
- Mark every documented roof exit. Use the product's installation instructions to identify channels, collection points, gutters, downspouts, or another documented release method. Do not assume that a hardtop, louvered, wall-mounted, or freestanding pergola uses the same system.
- Draw the complete route. Trace water from each roof exit to a proposed final discharge area. Include the direction across the surface and any documented drain or outlet that is part of the design.
- Mark the areas the route must protect. Add the foundation and wall, exterior doors and thresholds, windows, walkways and steps, outdoor furniture, stored items, low spots, slopes, and property boundaries to the site sketch. As a conservative first screen, keep concentrated roof water away from the home's foundation and neighboring property, as described in this residential downspout drainage guidance.
- Choose the next action. Proceed when the documented path reaches an acceptable discharge area without an unsupported alteration. Revise the pergola position or outlet when the route points toward a protected feature. Seek qualified help when the preferred path involves wall or foundation work, grading, a connection to existing drainage, or an uncertain boundary.
This map shows where pergola rainwater will drain before installation. It also reveals whether the proposed site has a complete path rather than merely a roof edge that releases water somewhere nearby.
Test the Route Against the House, Hardscape, and Property Line
Accept the route only after testing the final discharge point against the features most likely to change the decision. Keep surface runoff planning separate from below-grade foundation drainage, because a route that looks clear on the surface may still need site-specific review near a wall or foundation. Foundation drainage guidance provides useful background on why below-grade conditions can affect this assessment.
| Site feature | Planning response |
|---|---|
| Foundation or wall | Reroute concentrated flow away from the house. If the route depends on foundation work, grading, or uncertain below-grade drainage, obtain qualified site-specific help. |
| Doors, thresholds, and windows | Keep the outlet from directing water toward entry points or openings. Revise the outlet or structure placement when the mapped path returns water to the house side. |
| Walkways, steps, and hardscape | Reroute when the discharge would cross a walking path or collect where people and furniture need a dry, usable surface. A patio is not automatically a suitable final destination. |
| Furniture and stored items | Place the final discharge where ordinary runoff will not flow into furniture zones, storage areas, or other items that need protection. |
| Low spots and slopes | Trace the flow across the actual grade. A lawn or open area is suitable only when the mapped conditions carry water away from vulnerable areas instead of toward a low spot. |
| Property line, easement, or shared drainage | Treat the boundary as a verification point. Keep the route from shifting a concentrated flow problem onto neighboring property, and resolve easement or shared-drainage questions before installation. |
A route that fails one of these tests needs a revised outlet or a different placement. When the issue involves the foundation, grading, below-grade drainage, or a boundary that cannot be established from the site documents, pause the installation decision rather than treating proximity as proof that the route is acceptable.

Choose Gutters and Downspouts for Pergola Drainage
Gutters and downspouts belong in the plan when the documented roof design concentrates water or an uncontrolled edge discharge would affect a protected area. They are only one part of the route. The outlet still needs a suitable final discharge area, and the collection method must match the specific roof design.
Adding a gutter or downspout does not complete the drainage plan at the roof edge. Trace the outlet beyond the structure and compare it with the site's slope, low spots, hardscape, and final destination. General drainage guidance recommends evaluating the complete route and using a drain or another approved method when concentrated discharge needs to move downslope, rather than assuming the nearest open surface will work. This drainage route guidance supports that broader planning step without establishing a universal pergola capacity, slope, or outlet distance.
Use only the gutters, downspouts, channels, drains, and connections documented for the roof. The installation principle for storm drainage components supports following the manufacturer's instructions rather than treating an undocumented retrofit, wall penetration, house-drain connection, or grading change as interchangeable across designs. Those changes require product-specific instructions and qualified help where appropriate.
Wall-Mounted Pergolas
A wall-mounted layout puts the attachment side beside the house, so the map must account for the wall, foundation, doors, windows, and the route along or away from that side. The preferred outlet may not be the closest outlet if it sends water back toward the structure.
Use the exact product instructions to determine how a wall-mounted roof's collection and discharge path is intended to work. A hidden gutter or other documented feature does not establish the outlet location, installation limits, or drainage design of other pergolas.
Freestanding Pergolas
A freestanding pergola may release water toward more than one side of the structure, so inspect every documented roof exit before choosing the final outlet. Compare each possible route with nearby furniture, walkways, low spots, slopes, and property boundaries. Choose a route only after one complete path reaches an acceptable discharge area without relying on an undocumented connection or site alteration.
Confirm Local Requirements Before You Approve the Discharge Point
The mapped route is ready only when the product instructions, site conditions, and applicable local or community requirements align. Requirements can vary by address, so treat dimensions, attachment, setbacks, easements, HOA documents, property boundaries, and drainage rules as site-specific items to resolve before ordering materials or changing the ground.
Use this final decision rule:
- Proceed when every documented roof exit has a complete route, the discharge area protects the site, and the plan fits the applicable requirements.
- Adjust the pergola placement or outlet when a site conflict can be resolved without an unsupported structural, grading, wall, foundation, or drainage alteration.
- Seek qualified help when the plan depends on uncertain below-grade conditions, a wall or foundation change, a connection to existing drainage, grading work, an unclear boundary, or conflicting requirements.
For local rules, use the appropriate authority and your community or property documents. Our guide to local pergola permit rules can help you identify common questions, but it does not determine the requirements for your address.
If the completed map protects the site and matches the documented roof design, you have a workable next step. If it does not, adjust the placement or outlet before installation rather than trying to solve an incomplete drainage path afterward.
FAQs
The questions below address common choices in pergola drainage, from identifying the roof outlet to screening the final discharge point.
How does rainwater leave a covered pergola?
Rainwater follows the roof's documented channels, collection points, gutters, or downspouts to a planned discharge area. The exact path depends on the roof and mounting design, so the product instructions determine which collection method applies before you map the site route.
Can a pergola downspout drain onto a patio or lawn?
It can be suitable only when the documented design and site map keep concentrated flow away from the house, entries, walkways, low spots, furniture, and property boundaries. A patio or lawn is not automatically an acceptable final destination simply because it is open or nearby.
Do louvered pergolas always need gutters?
No. Louvered roofs do not all collect or release water in the same way. Review the specific roof's documented collection and release design, then use the specified hardware when uncontrolled edge discharge creates a site problem.
How can I keep pergola runoff away from my house?
Map every roof exit and route it away from the foundation, wall, doors, and windows. If the route points back toward the house, revise the outlet or pergola placement. A wall penetration, grading change, foundation change, or drainage connection needs product-specific instructions and qualified help before proceeding.
What should I verify before installing a pergola near a property line?
Compare the final discharge point with the actual boundary, easements, HOA or community documents, local requirements, and the product instructions. If the route cannot be established without sending concentrated water toward neighboring property or changing shared drainage, revise it or seek qualified help before installation.