Good gazebo planning follows six stages: define the outdoor-room goal, check the site, choose the footprint and material, build a purchase-ready packet, plan delivery and installation, then set up comfort and ownership. Work through them in order and you avoid the most common mistake, which is picking a size or style before confirming the backyard and local rules can support it. This complete gazebo planning guide is a navigation hub. It gives you the decision at each stage and points you to the exact Purple Leaf Garden article or product page for the details.

1. Start With the Outdoor-Room Goal
Before comparing any garden gazebo or pergola, write down what the space needs to do. That one sentence becomes the test for every later decision.

Write the Outdoor-Room Brief
Name the main job the structure will do: dining, lounging, shade, entertaining, poolside cover, privacy, or something else specific. List who will use it, what furniture has to fit, how people will move through the space, and how much weather protection you want. Turn all of that into one sentence, something like "a shaded dining spot for six people near the pool." That sentence is what you test against the site and, later, against actual product dimensions. This is also the core of learning how to plan a gazebo for a backyard: start from the activity, not from a catalog page.
Match the Experience to a Structure Path
If the brief centers on a defined roofed room, an enclosure, or full weather cover, follow the gazebo path. If it centers on a more open, adjustable-shade experience, look at a pergola path instead and confirm the exact configuration before buying. Do not lock in a product category yet. Detailed installation, material, and maintenance questions belong to the sections and articles further down this guide, not to this first stage.
2. Check the Site, Rules, and Preparation Needs
Before you select a final model, treat the backyard as a go or no-go checkpoint. A structure that looks right on a size chart can still fail because of setbacks, HOA rules, or a blocked delivery route.
Measure the Site and Approach
Record the cleared area you plan to use, nearby structures, property lines, surface type, slope, drainage, and the path from the delivery point to the assembly spot. When a product page lists both roof dimensions and foot or post dimensions, keep those numbers separate; the footprint on the ground is usually smaller than the roof overhang. Foundation and anchoring needs vary by site and by product, so treat them as a per-project decision rather than a universal rule.
Check Rules, Utilities, and Surface
Contact your local building or planning department before ordering. Some local authorities classify a detached gazebo as an accessory structure and require approval before construction or modification, and the required setbacks and HOA review can depend on the specific structure style and property. Review your HOA rules separately from city or county approval. If the project involves digging for anchors or a foundation, contact 811 or your state 811 center before digging, wait for utility responses, and work carefully around the markings; private lines may still need separate verification. If your surface question is specifically about installing on grass, our hardtop gazebo on grass guide covers that setup step by step. Pause the purchase path until the site, permit, and utility questions are answered.
3. Choose the Footprint, Roof, and Material Path
Once the site is cleared, narrow the footprint from the activity in your brief, then choose a material direction between aluminum and wood or cedar.
Choose a Footprint Around the Use
Start with the furniture and circulation the activity needs: a dining table for six needs more clearance than a two-chair reading nook. Leave room for the actual posts or feet, not just the roof outline, plus space to walk around them. A compact or lightweight gazebo can suit a smaller yard or a simpler handling project, while a larger footprint fits entertaining or full outdoor dining. Whatever size looks right on paper, use the specific model's published roof and foot dimensions as your final fit check instead of a generic backyard-size rule.
Compare Aluminum and Wood/Cedar Planning Paths
Your visual preference and tolerance for upkeep should drive this choice more than a single spec sheet.
| Planning lens | Continue with aluminum | Choose wood or cedar |
|---|---|---|
| Visual and project preference | Clean, modern lines; often lighter to handle | Natural wood look; fits a rustic or traditional yard |
| Upkeep research needed | Check coating and rust-resistance details on the specific model | Check cedar pergola kits or a wood pergola kit for finishing, sealing, and weathering needs |
| Next action | Compare our aluminum versus wood gazebos guide for cost and durability detail | Use the same guide, then confirm wood-specific care steps before ordering |
Continue with the aluminum path when a clean, modern look fits your brief and you want to compare coating and rust-resistance details for a specific model. The consequence is a model-focused review of those details before you order.
Choose the wood or cedar path when a natural wood appearance is essential and you are willing to research finishing, sealing, and weathering before ordering. The consequence is that wood-specific care becomes part of the purchase decision, not a later assumption.
If a natural wood appearance is non-negotiable for your project, an aluminum gazebo is not a fit regardless of its other advantages, so make that call before you shop by size.
Set the Roof Direction Before the Final Model
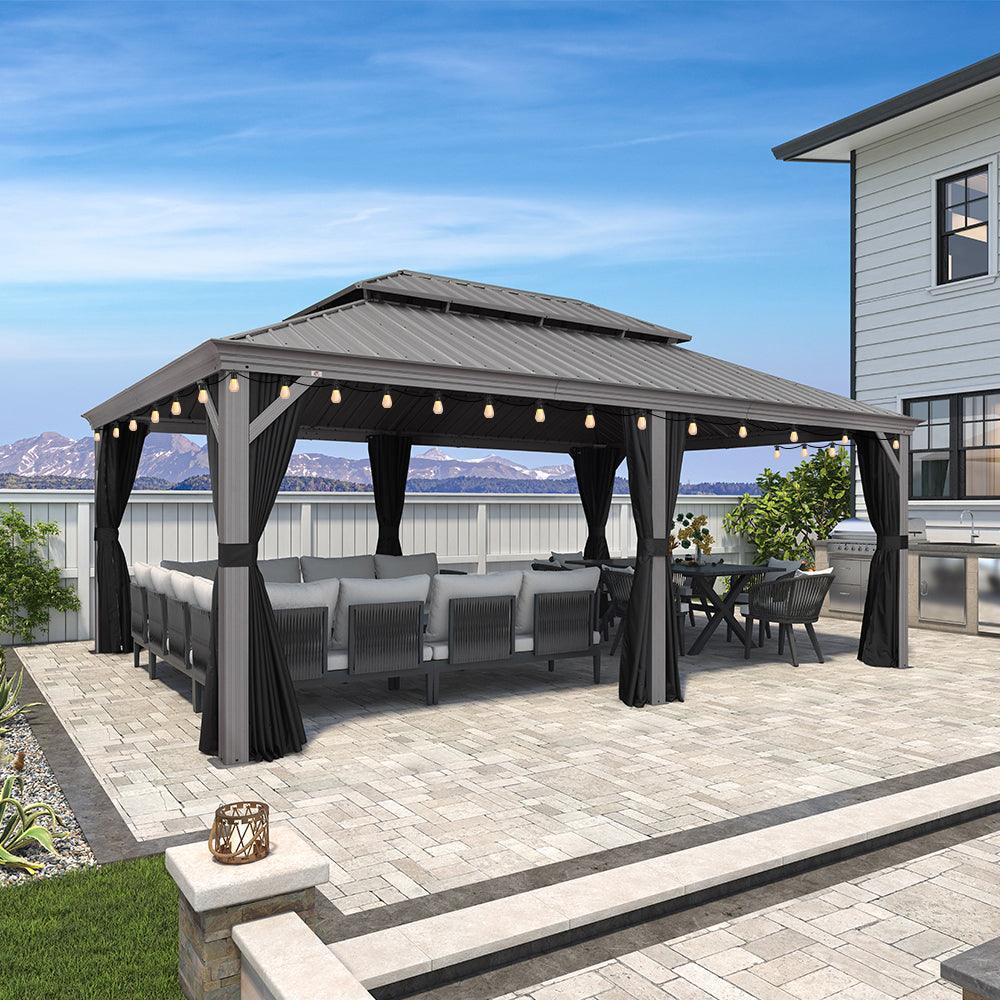
Keep fixed hardtop coverage, adjustable shade, openness, and drainage tied back to your outdoor-room brief. As one current example, our current hardtop gazebo example uses a light grey aluminum frame with a galvanized steel hardtop roof, built-in gutters, and reinforced 4.7-inch posts, and it lists multiple sizes including 10x12 feet and 10x14 feet. Treat those specs as one configuration to check against your cleared site, not a guarantee that every aluminum gazebo performs the same way in every climate.
4. Build the Purchase-Ready Project Packet
Before you place an order, gather every decision from the earlier stages into one packet instead of comparing prices in isolation.
Build the Purchase-Ready Project Packet
Record the confirmed use, cleared footprint, structure and material path, the model or category you are leaning toward, its configuration, and any site questions still open. List the real project inputs rather than guessing a total cost: the structure itself, site preparation, labor, delivery handling, accessories, and future care. Keep the live shipping, return, warranty, and support terms from the product page with your order record so you are not searching for them later.
Use the Consolidated Gazebo Planning Checklist
This is the one place this guide consolidates every stage into a single gazebo buying and installation checklist.
- Goal: Outdoor-room brief written; gazebo or pergola path chosen.
- Site: Area measured; local permit and HOA status checked; utility locate completed if digging.
- Choice: Footprint matched to activity; aluminum or wood/cedar path selected; roof direction set.
- Purchase: Configuration and size confirmed; shipping, return, and warranty terms saved.
- Installation: Delivery access confirmed; labor path assigned; permit inspections scheduled if required.
- Ownership: Comfort accessories checked; maintenance and support contacts filed.
Our gazebo buying checklist walks through the pre-order verification in more depth. The project is order-ready only when none of these six items are still open.
5. Plan Delivery, Assembly, and Installation
A delivery date is not an installation plan. Treat access and labor as two separate questions before you schedule anything.
Plan Delivery Access Before Ordering
Confirm the delivery truck's access point, the unloading and staging area, the route to the assembly site, surface condition, and a weather backup plan. Package arrival, unloading, staging, assembly, and anchoring are separate steps, not one event. Check the selected model's package count and weight before assuming the delivery and handling plan will work.
Choose Self-Installation, Hired Builders, or Installation Help
Use self-installation only when the product's stated crew size, ladder, gloves, and tool requirements match the labor you actually have; our current hardtop example calls for two to three people plus a ladder and gloves. If you plan to hire gazebo builders or an installation service instead, confirm the scope of work, whether the site needs to be ready before they arrive, who handles anchoring, and what happens if the site is not prepared. Where a permit applies, build the timeline around it: a local process can include submitting plans, going through review, keeping approved documents on hand, completing construction, and passing inspections, so do not treat delivery alone as project completion.
6. Set Up Comfort and Plan Long-Term Ownership
Once the structure is installed and anchored, ownership planning starts with comfort and a single record for care and support.
Set Up Comfort Around the Chosen Use
Add furniture, lighting, curtains, screens, or décor only after confirming each item fits the selected structure and its intended activity. Keep every addition connected to the circulation, shade, and privacy goals from your original brief. Built-in features like string lights or drainage gutters are configuration details on the specific model you bought, not standards that apply to every gazebo.
Create a Maintenance, Warranty, Parts, and Support File
Save your assembly instructions, selected dimensions, purchase records, care notes, warranty terms, and return terms in one place. Use the specific product page or the support team for current requirements rather than a generic maintenance calendar, since coverage periods and care steps vary by model and by material.
Take the Next Purple Leaf Planning Action
If your project and site are cleared, we invite you to browse gazebo options and move straight into choosing a configuration. If you still have a material or installation question, go back to the exact guide for that stage instead of starting over here. We are ready to help with sizing, warranty, and support questions whenever you reach that point.
FAQs
Do I Need a Permit for a Gazebo?
It depends on your city or county, the structure type, your property, and any HOA rules. Confirm with your local building or planning department before ordering rather than assuming a permit is or is not required.
What Is the Difference Between a Pergola and a Gazebo?
A gazebo path fits a defined, fully roofed outdoor room or enclosure. A pergola path fits a more open or adjustable-shade experience. Match the choice to the outdoor-room brief you wrote first, not to a marketing label.
How Do I Choose the Right Size for My Backyard?
Start with your planned activity, furniture, and circulation needs, then measure your cleared site. Finish by checking the actual foot and roof dimensions of the specific model you are considering; this guide does not set one universal backyard-size number.