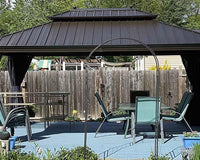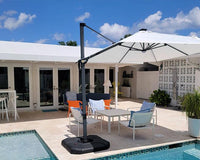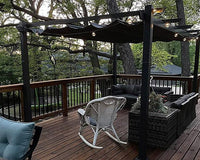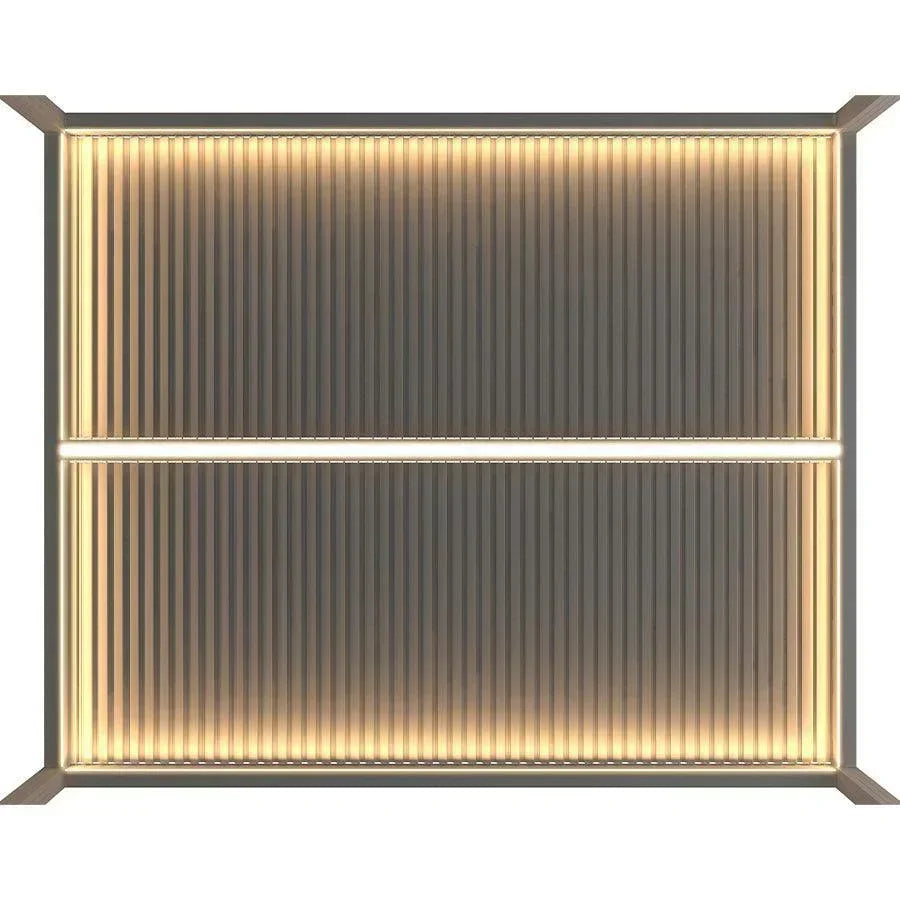
Start your gazebo with lights plan by mapping how you use the space after dark—not by choosing fixtures first. Mark the dining or serving area, lounge seating, entry, and any nearby step or walkway transition. Then distinguish task lighting, which helps you see an activity, from softer ambient lighting, which supports comfort and orientation. This approach gives you a practical gazebo lighting plan before you commit to placement, routing, or power.

Map the Gazebo Lighting Plan's Evening-Use Zones First
The first step is to draw a simple zone map for the gazebo and its immediate approach. A purpose-first plan keeps light focused on the areas people use instead of treating every roof edge, post, or corner as a lighting requirement. The DarkSky lighting principles likewise recommend giving outdoor light a clear purpose and using no more than needed.
- Mark activity and movement. Note where people dine, serve food, lounge, enter, and move toward nearby steps or a path.
- Label task zones. Identify the table, serving surface, or other activity that needs the clearest useful light.
- Label ambiance zones. Mark lounge seating and perimeter areas where softer light may support atmosphere or orientation.
- Note candidate positions. Sketch possible overhead, table-area, post, roofline, or perimeter locations, but treat them as planning points until the fixture instructions and gazebo structure support the choice.
For an evening dining gazebo, the table and serving area are the task zone, while lounge seating and the entry are separate supporting zones. For a lounging gazebo, the seats may be the main activity area, but the entry and nearby level changes still deserve their own visibility check. Leave unused areas out of the initial gazebo lighting plan rather than brightening the entire structure by default.

Place Each Light for Its Job
The most useful gazebo lighting ideas separate functional light from background light. Put task light where the activity happens, then add a softer perimeter or entry layer only when the structure and use pattern make it useful for orientation or atmosphere. Brighter is not automatically safer or more comfortable, so judge each position by the job it performs and the sightlines it creates, as responsible outdoor-lighting guidance recommends.
Place Task Light Over Dining and Serving Areas
Aim functional light at the table or serving surface instead of trying to illuminate the entire gazebo evenly. Review the proposed position from seated diners, standing hosts, and nearby lounge seats. If the source becomes a bright object in a normal line of sight, adjust its position or shielding before adding more light. Keep the proposed mounting and routing clear of moving roof parts, curtains, doors, and walking paths. The right position still depends on the actual gazebo structure, component instructions, and power route.
Layer Perimeter, Entry, and Path Visibility
Use posts, a roofline, or another suitable perimeter position for softer background light only when the structure, use pattern, and component instructions support it. Give the entry, nearby step, and path transition a separate visibility check rather than assuming interior ambiance covers them. Perimeter lighting can support lounging and orientation, but it does not replace task light for a table or movement transition. A category-level string-light option may help with ambiance planning, but a collection does not establish that any item fits a particular gazebo, exposure, or mounting point.
Check Glare and Visibility Before Adding Brightness
An after-dark sightline test is the best next step when a gazebo looks bright but feels uncomfortable. Check the light from the positions people will actually use, then shield, aim, or reposition the source before increasing brightness. DarkSky recommends directing light toward the needed task, controlling spill, and using the lowest useful light level in its outdoor lighting guidance.
Seated view: Sit in each main lounge and dining position. Look toward the exposed lamp, strip, or bulb and note whether it falls within a normal eye-level sightline. Standing view: Repeat the check where someone will serve food, enter, or talk with seated guests, because a source that clears a seated view can still cause glare when people stand.
Approach view: Look toward the gazebo from the entry and nearby path or step. Confirm that the transition is visible without making the source itself the dominant visual target. Reflection and source adjustment: Look for reflections from a glossy table, window, or light-colored surface. Aim the source toward the task, add suitable shielding, or move it before adding fixtures.
This is a comfort and visibility check, not a measured glare standard or a certification of electrical, structural, or product suitability. If the task area is visible but the source is uncomfortable, fix the sightline first.
Check Power and Weather Exposure Before Installation
Choose the power path only after inspecting the entire route from the source to the light. How to power gazebo lights depends on available power, connection exposure, operating needs, mounting, and whether the setup is temporary or permanent. The table below is a qualitative planning comparison, not electrical code guidance.
| Power approach | Useful when | Weather and routing checks | Escalation note |
|---|---|---|---|
| Existing outdoor outlet and temporary plug-in | A suitable outdoor source is already available and the setup can remain temporary | Use outdoor-suitable components and cords; keep connections dry and protected; avoid puddles, pinching, covering, and walking hazards | Stop if protection, cord condition, or the route is uncertain |
| Solar | There is no convenient outlet and the location supports the product's daylight and operating needs | Check the actual product instructions, placement, mounting, weather exposure, and expected operating conditions rather than assuming runtime | Escalate if mounting or electrical connections become uncertain |
| Low-voltage system | The product's specified supply and connection arrangement suits the route and a more controlled setup is useful | Check the actual supply, connection limits, cable route, mounting, and exposed connections; do not assume all low-voltage systems are interchangeable | Use qualified help when the installation becomes permanent, concealed, or uncertain |
| New permanent wiring | A lasting installation is needed and the site can support professional planning | Review the route, structure, weather exposure, and local requirements with the installer before work begins | Use a qualified electrician for new circuits, buried or concealed wiring, permanent connections, or unclear outdoor requirements |
For temporary plug-in gazebo lighting, use components intended for outdoor use, outdoor-use cords, protected and dry connections, and GFCI protection. The Outdoor Electrical Safety Check provides related reminders about damaged, pinched, covered, or improperly exposed cords. Secure light strings to firm supports without damaging their insulation, keep them away from standing water and pinch points, and avoid overloading outlets, as explained in outdoor decoration safety guidance.
Solar and low-voltage options still need a complete route review. Check the product's actual markings and instructions for supply, connections, mounting, and exposure. Lighting-product guidance from CSA Group also reinforces using the product's markings and instructions rather than assuming a category label proves suitability. Do not infer runtime, voltage, wattage, weather rating, capacity, or compatibility from the category name alone. If you are considering a lasting route, the guide on how to safely run electricity to your gazebo can provide a planning starting point, but it cannot replace site-specific professional advice.
A new circuit, buried or concealed wiring, permanent electrical connections, or uncertainty about outdoor electrical requirements is a stop-and-escalate condition. This is a conservative planning boundary, not a complete statement of US permits or local code. A qualified electrician can assess the site-specific installation instead of relying on a sketch or general checklist.
Run One Final After-Dark Fit Check
Before choosing and installing an approach, make one final review that connects the zone map to the actual route. Proceed only when the temporary or professional path is clear.
- Review the zones after dark. Confirm that task light serves dining, serving, or lounging; ambiance remains secondary; the entry and nearby transition are visible; and no source falls within a normal seated or standing sightline.
- Inspect the route and exposure. Walk the intended cord or cable path and compare the proposed mounting points, connections, and weather exposure with the actual component instructions. Look for water exposure, pinch points, walking hazards, and interference with moving parts.
- Proceed or escalate. Choose the simplest feasible temporary or product-specific path. Pause and contact a qualified professional if any electrical condition remains uncertain or the plan involves permanent, buried, concealed, or new-circuit work.
Timers or other controls may help turn lighting off when it is not needed, but their use remains product- and site-dependent. The final gazebo lighting setup should be selected for usable task visibility, comfortable sightlines, and a power route you can explain clearly—not for brightness alone.
Frequently Asked Questions
These questions address the most common choices that remain after the map, sightline test, and power comparison are complete.
Where Should Lights Go in a Gazebo?
Place task light at the dining or serving surface, use softer light around lounge and perimeter areas, and assess the entry plus any nearby step or level change separately. Start with the activity that matters most after dark, then test the proposed positions from seated and standing views.
Can You Add Lights to a Gazebo Without Wiring a New Circuit?
Possibly, when an existing suitable outdoor power source, solar setup, or product-specific low-voltage arrangement fits the full route and instructions. The absence of a new circuit does not remove the need to check outdoor suitability, connection exposure, mounting, and cord or cable hazards. If those conditions are unclear, pause for qualified help.
How Can You Reduce Glare From Gazebo Lights?
After dark, inspect the source from the main seated, standing, dining, and approach positions. If it is directly visible or creates reflections, shield, aim, or reposition it before adding brightness. The goal is comfortable visibility at the activity and transition—not the highest apparent brightness.
When Should an Electrician Install Gazebo Lighting?
Use a qualified electrician for the stop-and-escalate conditions identified in the power section, especially when the route involves permanent work or cannot be established from the actual instructions and site. That boundary keeps the FAQ focused on when to act rather than repeating the full power comparison.