A retractable pergola can fit beneath a low roof eave or near second-story windows, but only after you verify three things on your own house: the wall's structural capacity for attachment, the actual water-runoff pitch of the roof or canopy plane, and the clearance between every operating position of the fabric or louvers and every wall obstacle. No single dimension from a spec sheet answers the fit question by itself.
This guide walks through that verification in order: choosing a mounting path, building a measurement record, calculating pitch, setting a ledger datum, mapping obstacle clearance, and comparing roof types. Each step narrows the decision instead of repeating it.
Wall-mounted or freestanding: make the first fit decision
Investigate freestanding placement first if you can't yet verify what's behind your exterior wall finish. Investigate wall mounting only once a qualified installer has confirmed the load path and the full measured geometry works with your product choice.
Use the wall only when the load path is verified
Wall mounting makes your house part of the pergola's load path. The fasteners have to reach framing that can actually carry the added weight and wind load. Siding, stucco, trim, or a masonry veneer surface lining up visually with your target height is not proof that the structure behind it can hold a ledger connection. That confirmation has to come from opening up the wall or from an installer who can identify the framing.
Choose freestanding when wall coordination is the limiting issue
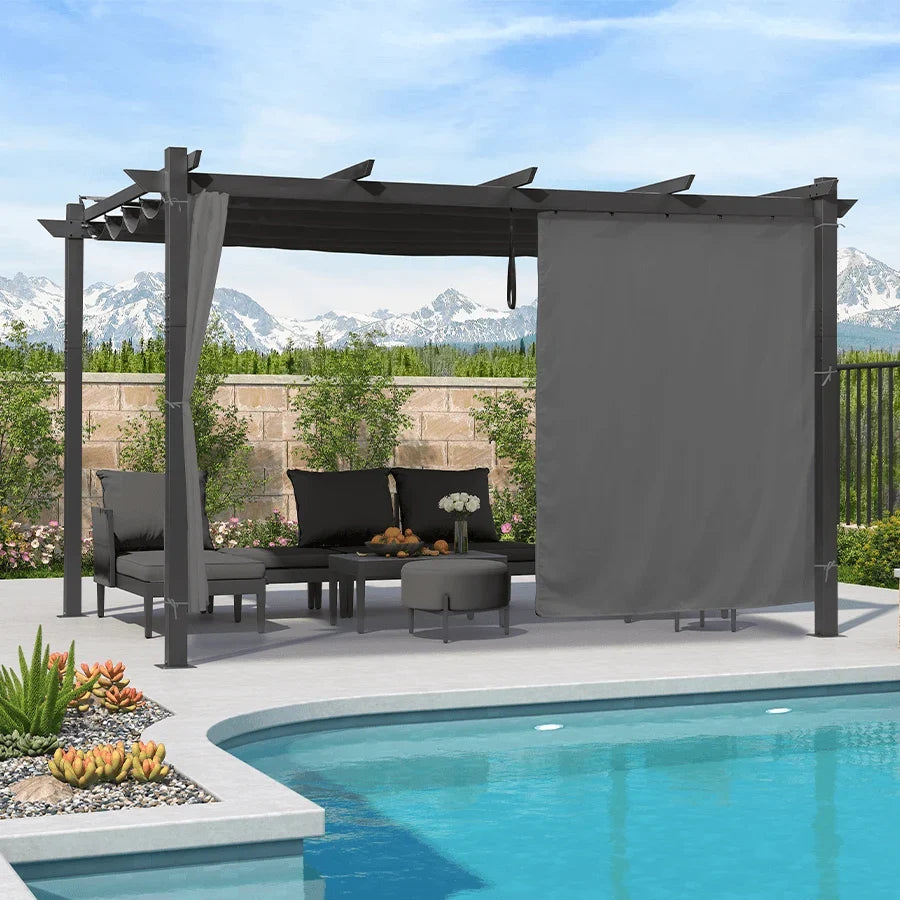
A freestanding configuration, like our freestanding retractable pergola, sidesteps the house-wall ledger question entirely. That doesn't make it maintenance-free from a structural standpoint. Posts still need adequate footing or slab capacity, anchors rated for your local wind exposure, and enough clearance at the listed overall height to avoid the eave, gutter, or window above it. Neither mounting style is automatically approved just because it avoids the other one's obstacle.
Build the site measurement record before comparing products
You need a complete measurement record before any product geometry can be checked against your house. Two references matter most: a wall elevation and a plan view, so you catch both height conflicts and outward projection conflicts.
Record fixed site geometry
Start from finished patio grade and the actual wall plane, not a guessed reference point. Mark the eave edge, gutter and downspout paths, every window and door opening, vents, trim, and any post or anchor zones you're considering. Include the paths you use to reach windows for cleaning or maintenance, since a low pergola roof can block that access even when it clears the window glass itself.
Record the product envelope
Pull the frame, rail, fabric, louver, gutter, post, and anchor positions straight from your selected model's documentation, not from a general product category description. Get dimensions for every position that applies: fully open, fully closed, tilted (for louvered roofs), fully extended, and fully retracted. A product's listed overall height covers only one of these states.

Calculate pitch for runoff without inventing a universal angle
There is no single minimum pitch angle that applies to every retractable pergola, louvered roof, or fixed patio cover. What you can do is measure your own roof or canopy plane's rise and run, calculate the resulting pitch, and then check that result against your selected product's installation documentation or the applicable local code, per IRC patio-cover provisions, which govern patio-cover design and adoption in many jurisdictions.
Measure rise and run consistently
Pick two clear endpoints along the roof or canopy plane, keep every measurement in the same unit (inches or feet), and measure only the pergola's own roof or canopy, not your house's separate roofline. For example, a 6-inch rise over a 48-inch run works out to a pitch percentage of about 12.5%, calculated as rise divided by run, times 100. The pitch angle itself is the arctangent of that same rise-over-run ratio; this is a labeled illustrative example, not a product or code requirement.
Compare the result with the governing requirement
Once you have your measured pitch, compare it against your selected system's installation manual or drainage design, not against a general roof-slope rule of thumb borrowed from house roofing. Retractable fabric, adjustable louvers, and fixed covers each route water differently, and only your product's documentation or the applicable code establishes whether your measured pitch and outlet path are acceptable.
Set ledger-board attachment height from structure and product geometry
There's no universal ledger height for a pergola. The height comes from laying your selected product's documented attachment geometry over your verified wall structure, then checking that line against every nearby opening and drainage feature.
Find the structural attachment datum
Trace the proposed connection back to capable primary framing or engineered masonry that matches your product's connection detail, following the same principle used for deck ledgers: a positive connection to primary structure, per the AWC deck construction guide. That guide covers residential wood decks specifically, so treat it as a scope-limited structural reference for the attachment principle, not as pergola-specific approval. Siding, trim, a bay window surround, or an overhang is never the structural reference point, regardless of how the height lines up visually.
Coordinate ledger height with flashing and openings
Lay your product's documented attachment line over your measured windows, eaves, gutters, and downspout paths before finalizing anything. Flashing and weatherproofing have to be designed into that connection, not added afterward as a patch. Strong-Tie ledger connection guidance notes that an improperly flashed ledger traps moisture and can lead to rot, and that masonry veneer generally cannot carry the added load on its own. Do not drill or finalize a wall-mounted connection when the proposed line can't be traced to verified primary structure or when weatherproofing can't be integrated into that specific wall condition.
Measure retracted-fabric clearance around windows and wall obstacles
Clearance has to be checked obstacle by obstacle, position by position. There is no universal clearance number that applies across every window, eave, gutter, or trim detail, so this section is the place to build that record, not the earlier product-envelope step.
Map the wall obstacles
Using the same reference planes as your site record, measure to every window, eave or soffit edge, gutter, downspout, vent, trim piece, and door swing near the proposed installation. Record projection depth as well as horizontal and vertical position, since a gutter or trim piece that looks clear from the ground can still intrude on the pergola's actual envelope.
Check every canopy or roof position
Compare the stored fabric and its rails separately from the fully extended fabric position, since a folded canopy can sit closer to the wall than an open one. For louvered systems, check open, tilted, and closed positions along with the gutter outlet path. An overall product height, like the 96.5 inches listed for our freestanding retractable model or the 92.85 inches listed for the wall-mounted Caesar louvered pergola, tells you the tallest point of the structure. It does not tell you whether the stored fabric, a rail, or a louver edge clears a specific window sill, eave line, or piece of trim. Use your selected model's elevation or installation drawing for that answer, and mark any position you can't verify as unresolved rather than assuming it clears.
When a fixed patio cover or louvered pergola fits better
The right roof system depends on which constraint is actually controlling your layout, not on a universal ranking of pergola types. Retraction, louver adjustment, and fixed coverage solve different problems, and the two supported examples below only illustrate documented mounting and roof-behavior facts, not a predetermined winner.
Use a retractable fabric system when independent placement solves the constraint
Choose a freestanding, folding-canopy layout when avoiding a house-wall connection is the limiting requirement and your site can support properly anchored posts. Our freestanding retractable pergola is listed with an overhead shelter that protects the retracted canopy from UV rays and rainwater accumulation, plus a reinforced, powder-coated aluminum frame. Its footprint, anchoring, 96.5-inch overall height, and stored-canopy clearance still have to be checked against your specific site before you order.
Use a wall-mounted or fixed roof only when the wall-side geometry works
Choose a wall-mounted louvered layout only after the wall connection, gutter outlet, height, and operating envelope are all verified for your house. Our wall-mounted louvered pergola is documented as an all-aluminum lean-to with adjustable roof panels and a hidden gutter system that routes rainwater through the posts, at a listed height of 92.85 inches. A fixed patio cover offers similar permanent wall-side coverage but still requires its own structural design, drainage plan, and local review; the evidence here doesn't support ranking its cost or durability against a retractable or louvered system, only its planning requirements.

Final verification before ordering or drilling
Don't order or drill until your selected model's documentation, your calculated pitch and drainage path, your attachment or anchoring plan, and your obstacle clearance record are all resolved. Treat any item you can't confirm as a stop, not a rounding error.
Resolve the documentation and geometry record
Match your chosen size and model to its installation manual, drainage or pitch information, operating-envelope dimensions, and attachment or anchor specifications. Keep any value you can't verify visible on your worksheet instead of filling it in with a category assumption borrowed from a similar-looking product.
Choose the next qualified-review action
Send uncertain wall or anchor conditions to a qualified installer or structural professional, and confirm local permit or setback requirements before you finalize the layout; our guide on pergola permit requirements walks through when that review applies. A completed measurement sheet is a planning tool, not a structural approval. The sequence to clear before ordering: product documentation, measured pitch and drainage path, attachment or anchoring plan, obstacle clearance record, and local review or permit status.
FAQs
Does a pergola's listed overall height tell me whether it will clear a second-story window or low eave?
No. Overall height is a single top-of-structure measurement, and it does not reveal where the stored canopy, a rail, a louver edge, or a gutter outlet actually sits relative to your window, eave, or trim. Pull your selected model's elevation or installation drawing and compare each component's real position, in every operating state, against your measured window, eave, and trim lines before assuming it clears.
How do I calculate whether my available rise provides adequate water runoff pitch?
Measure the vertical drop (rise) and horizontal span (run) along the actual canopy or roof plane in inches. Pitch percentage equals rise divided by run multiplied by 100, while the pitch angle is the arctangent of that ratio. A calculation shows what your physical space produces, but it does not prove adequate runoff on its own; you must compare that calculated slope against your specific model's documented drainage specifications.
What should I measure on an exterior wall before deciding between wall mounting and freestanding placement?
Record the vertical distance from finished patio grade to the bottom of low eaves, gutters, and second-story window sills, along with horizontal depths for trim, overhangs, downspouts, and wall vents. If structural framing behind the siding cannot be verified, or if wall obstacles encroach on the connection plane, plan for a freestanding installation with engineered ground anchoring instead of anchoring a ledger to the wall.