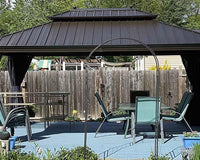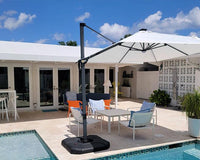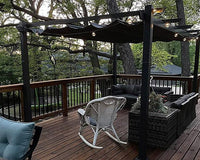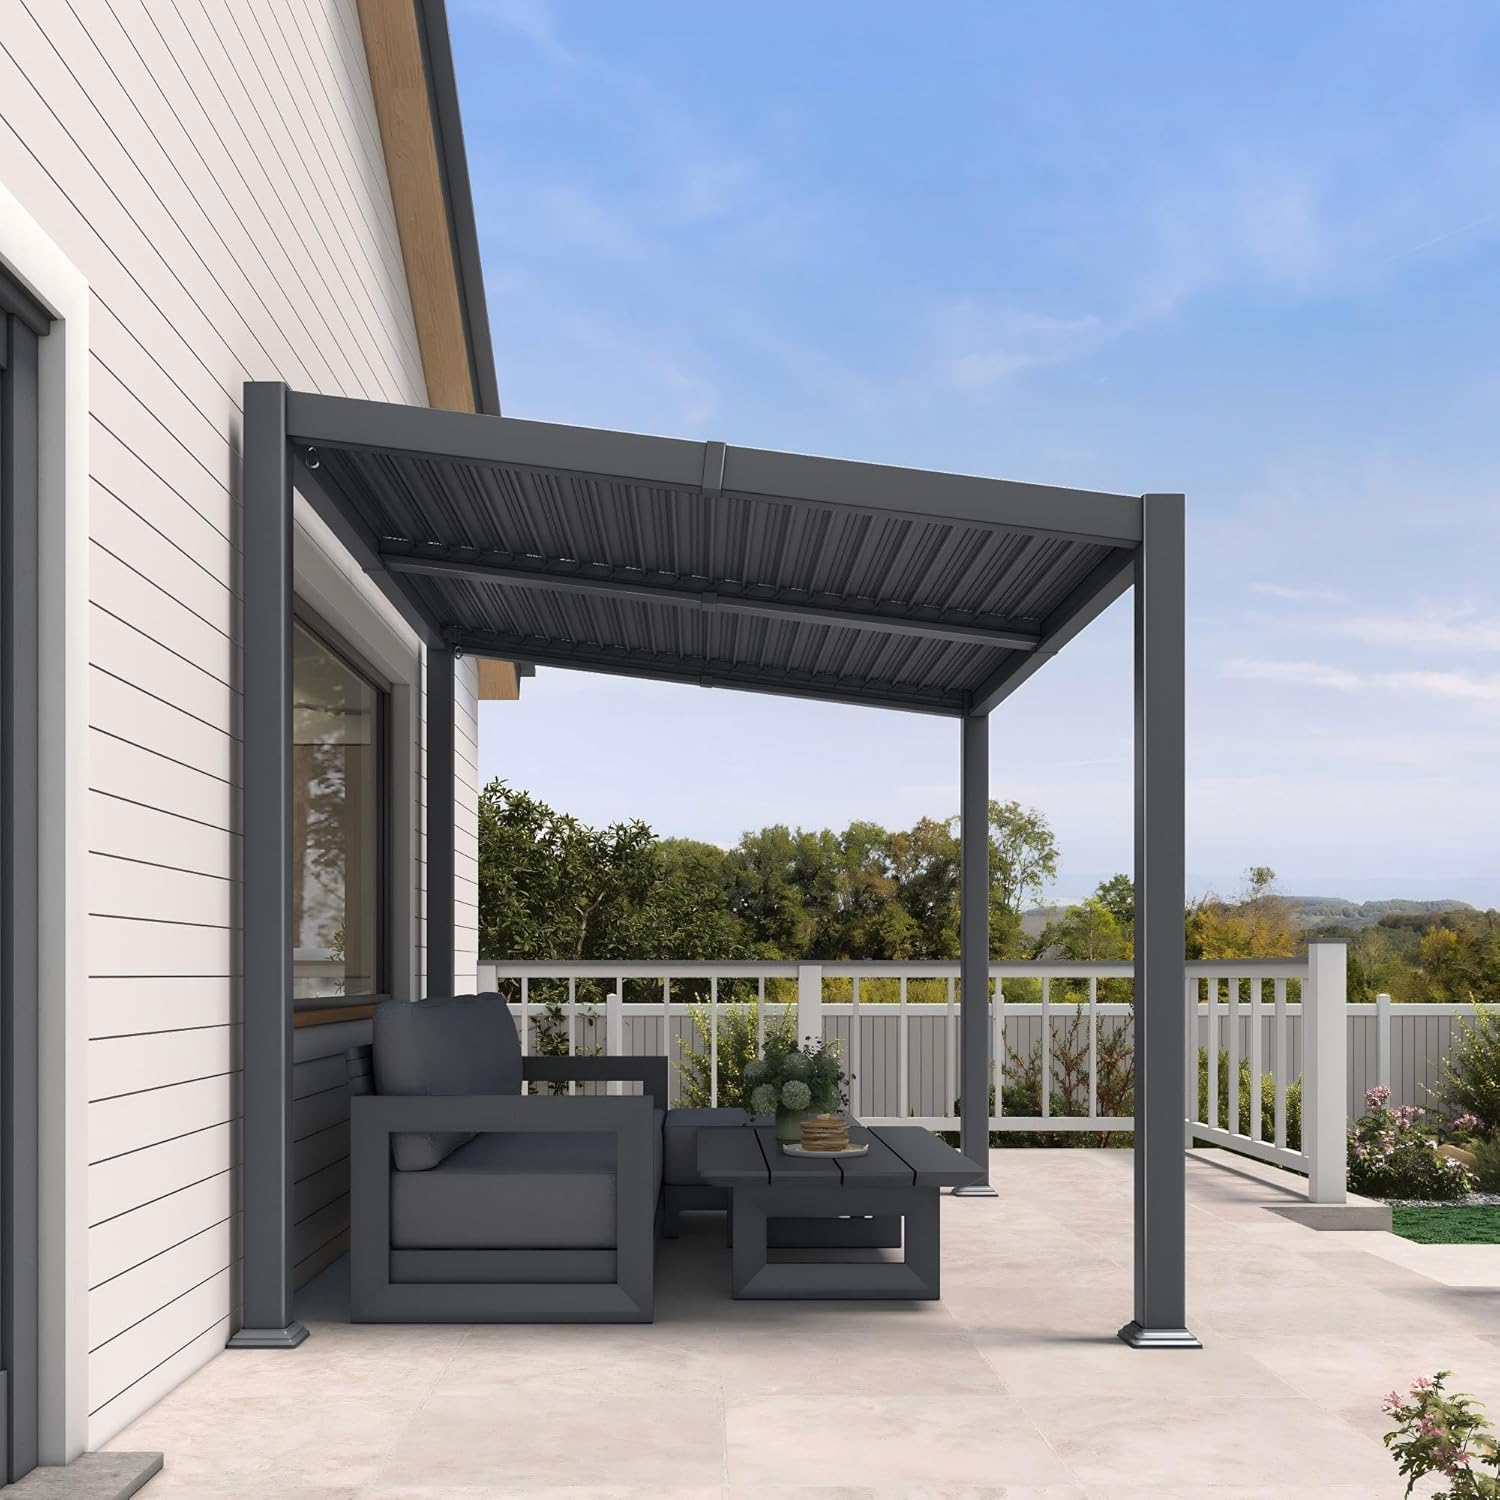
Start with a pencil sketch, not a pergola footprint. Mark the deck door, stairs, furniture zones, and the routes people use between them. Then place shade beside those routes instead of assuming the deck’s center is the best location. A deck pergola works when it shades the intended seating or dining area while keeping access, furniture use, and important views open.

The first layout decision is practical: test a centered pergola only when the central activity zone does not overlap the main route; test an offset layout when stairs, doors, or views sit to one side; consider an attached pergola over the deck only when the home-facing shade zone leaves the door approach usable; and test freestanding placement when the shade belongs away from the house. These are planning directions, not a universal ranking or proof that a structure can be attached.

Choose the Deck Pergola Layout That Keeps Traffic Open
The best deck pergola layout is the one that protects the route you cannot afford to lose. Before comparing symmetry or appearance, identify how people enter, exit, sit, dine, and reach the stairs. A deck layout planning guide supports treating the pergola and circulation as one plan rather than judging fit from the deck outline alone.
Use this short sequence to choose a direction:
- Map the routes. Draw the path from the house door to the stairs, seating, dining area, grill, or other destinations people use regularly. Include more than one entry point if the deck has them.
- Mark the shade target. Circle the activity that needs overhead coverage. A pergola may define a seating or dining zone instead of covering the entire deck, so leave the rest of the outline available for movement and uncovered uses. This zone-based approach is also reflected in pergola design examples.
- Test four directions. Sketch centered, offset, house-facing attached, and freestanding footprints over the same route map.
- Apply three fit checks. Keep the critical route continuous, make sure the intended furniture can be used in the shade zone, and confirm that doors, stairs, and important views remain clear from the places where people will stand or sit.
A centered layout is the first option to test when the deck naturally separates a central dining or lounge area from its routes. It fails when the door-to-stairs path crosses the middle or when posts would divide the most-used passage. In that case, symmetry is costing usable space.
An offset layout is the better direction when the traffic spine runs along one side, the stair opening is off-center, or a view needs to stay open. It lets the pergola frame an activity zone while preserving a side passage. Choose it when access and sightlines matter more than a centered appearance.
An attached pergola over the deck can be a spatial fit when the desired shade belongs along the house-facing edge and the approach to every door remains usable. Being near the house does not prove that attachment is feasible, approved, or appropriate. Treat attachment as a later product and professional feasibility question, not as a conclusion from this sketch.
Freestanding placement suits a separate outdoor room away from the wall-side route, or a deck where indoor-to-outdoor access needs to remain visually and physically open. It can protect the house-side passage, but it also introduces a separate footprint to test against furniture, stairs, railings, and views. Keep the direction that leaves the critical route intact while still giving the main activity a useful shaded zone.
Measure the Usable Deck Zone Before Finalizing the Footprint
Total deck size is not the same as usable pergola space. Find the area that remains after marking access points, fixed features, routes, and furniture needs, then place the proposed footprint inside that surviving zone. Do not use a universal walkway or furniture-clearance number; use a continuous-route and furnished-use test instead.
Mark the Usable Deck Zone
Draw the full deck outline first, including any raised edges or irregular corners. On that outline, mark every feature that changes where people can walk or where furniture can function:
- Door approaches and the direction each door swings or operates.
- The stair opening, the route toward it, and the landing area on a raised deck.
- Railings, fixed posts, built-in features, and other permanent obstacles.
- Furniture locations that are expected to remain in place.
- Edges that need to stay open for entering, exiting, turning, or reaching another activity area.
Now draw the proposed pergola on a deck inside the remaining area. Label the space under it as the shade or activity zone rather than treating every part of the deck as equally available. A deck-plan example showing pergola coverage alongside stairs can illustrate why the stair opening belongs in the same drawing as the shaded area, but it is only an example, not a template for your deck. See this deck plan with pergola and stairs for that type of combined layout.
If the footprint touches a door approach, stair route, or required passage, move the shade zone before trying to make the furniture fit. If the remaining area cannot hold the intended activity without using the route, the proposed footprint is not a usable fit, even if it appears to fit inside the outer deck boundary.
Separate Traffic Lanes From Activity Zones
Use two visual layers on the sketch. Draw traffic lanes as a continuous line or band from the house to the stairs and between the activities people actually use. Shade the activity zone separately for dining, lounging, or another defined purpose. The two layers can touch, but the activity zone should not require people to cross through furniture to reach the next destination.
Place the largest intended furniture pieces on the furnished version of the sketch. Show where chairs pull out, where people sit or stand, and how someone reaches the table or lounge area. Then compare that drawing with an empty-deck version. A layout that looks generous before furniture is added may feel cramped once chairs, tables, or loungers occupy the shade zone.
The test is simple: if the route stays continuous and the furniture can be used without spilling into it, the zone is worth testing further. If either condition fails, reduce, shift, or reorient the proposed footprint. This is a layout judgment, not proof of structural capacity or attachment feasibility.
Adjust the Pergola Around Stairs, Doors, Railings, and Views
Deck features should change the shade position, not be treated as details to solve after choosing the footprint. Review the drawing from the house and from the planned seating area, then adjust the pergola wherever it hides a route, interferes with access, or removes a valued sightline.
- Stairs: Keep the stair opening and the route toward it visible in the plan. On a raised deck, protect the turn from the activity area toward the stairs instead of allowing a centered footprint to become a barrier. If the proposed posts or furniture make that route awkward, shift the zone toward the opposite side or test a freestanding arrangement. A deck plan with a stair route is a bounded illustration that these features belong in one layout, not evidence that a particular arrangement will fit.
- Doors: Preserve the approach to each frequently used door and consider how the door operates in daily use. A home-facing shade zone may look efficient but fail if furniture or the pergola footprint makes the entry feel blocked. Move the activity zone away from the approach, or test an offset or freestanding direction.
- Railings: Treat railings as visible edges that shape the room and the view, not as automatic placement lines. A pergola placed hard against a railing may make the deck feel enclosed or obscure the view from a seated position. Shift the shade zone when the railing-side outlook is one of the deck’s main benefits.
- Views: Check the plan from the house, dining seats, lounge seats, and the stair route. If posts, roof framing, or the covered zone hide a valued yard or landscape view, rotate or offset the activity area. If a route or sightline disappears, the layout needs a change rather than a stronger justification.
The most-used entry and exit route gets priority on narrow and raised decks. If a proposed shade zone cannot avoid a feature, choose the direction that keeps access and the most important view open. That decision concerns usability only; clearing a door, stair, or railing does not establish structural, permit, or installation approval.
Run the Final Fit Check Before Shopping
A layout is ready for the next research step when it passes three tests on one furnished sketch: access stays open, furniture remains usable, and key sightlines are clear. If it passes only on an empty deck or from one viewing angle, keep revising it.
Use this mistake-and-correction check:
- The pergola is centered because the deck is rectangular. Redraw it around the primary route. Keep it centered only if the activity zone and movement lanes remain separate.
- The footprint works until dining chairs are pulled out. Mark the furniture in use and shift or reduce the shade zone if chairs occupy the route.
- The house-facing edge seems convenient, but a door approach feels tight. Test offset or freestanding placement instead of assuming an attached pergola is the answer.
- A post or covered edge interrupts the stair route. Move the footprint away from the stair opening and redraw the approach from the activity zone.
- The view is clear from the house but blocked from the seating area. Review both perspectives and prioritize the view people will use most.
- The plan works only if people squeeze behind furniture or cross the activity zone. Reject that direction and return to the route-first sketch.
Now choose the surviving direction. Select centered when the central shade zone does not overlap the critical route. Select offset when one side can hold the activity while another stays open for access or views. Select house-attached as a spatial direction only when the home-facing zone preserves every door approach, with attachment feasibility handled separately. Select freestanding when the shade belongs away from the house or when wall-side access should remain open.
Carry that circulation-tested sketch into official product-dimension comparisons and any separate feasibility research. A passing deck pergola layout is ready for shopping research, not automatically ready for installation or attachment.
Before the FAQ, the practical answer is clear: protect the route first, place shade around the activity zone, and let stairs, doors, furniture, and views determine whether centered, offset, attached, or freestanding is the better direction. Keep the sketch that still works when the deck is furnished.
Frequently Asked Questions
These questions address common fit decisions that can change how you use the sketch.
Is a pergola a good fit for a deck?
It is a good layout fit when it shades the intended activity zone while preserving the main route, door access, furniture use, and important views. Total deck size alone cannot answer the question. Draw the route and furnished activity zone first, then reject any footprint that makes daily movement awkward.
How Do You Plan a Pergola on a Raised Deck?
Start with the stair opening and the route leading to it. Add doors, railings, activity zones, and sightlines to the same sketch before testing a raised deck pergola planning footprint. This creates a planning view of the deck, but it does not confirm structural suitability, attachment feasibility, or installation requirements.
Can a Pergola Be Attached to a House Over a Deck?
An attached pergola over the deck can be a spatial direction when the home-facing shade area works without disrupting door access. Freestanding placement may be a better spatial direction when the wall-side route should remain open or the shade zone belongs farther out on the deck. A house-facing position alone does not establish that attachment is feasible, approved, or suitable; handle that question separately with the relevant product and professional checks.